What is Illustrator?
Illustrator is one of adobes graphic software's that use vectors to create images instead of pixels (how Photoshop creates images). In Illustrator, a line is two dots connected by the software, instead of just a line of pixels. Where Illustrator has advantage over Photoshop is that by now using pixels the images can be scaled up to any size without losing it's quality. Illustrator will also give you a better print output since it's not resolution dependent. A drawback of Illustrator is that it's hard to change already existing photos because it uses a different way of making lines. Because of the previous reasons Illustrator is excellent for many of our projects including the Vinyl cutter and the laser engraving projects.
So lets make some stuff
Laser Engraving Key chain
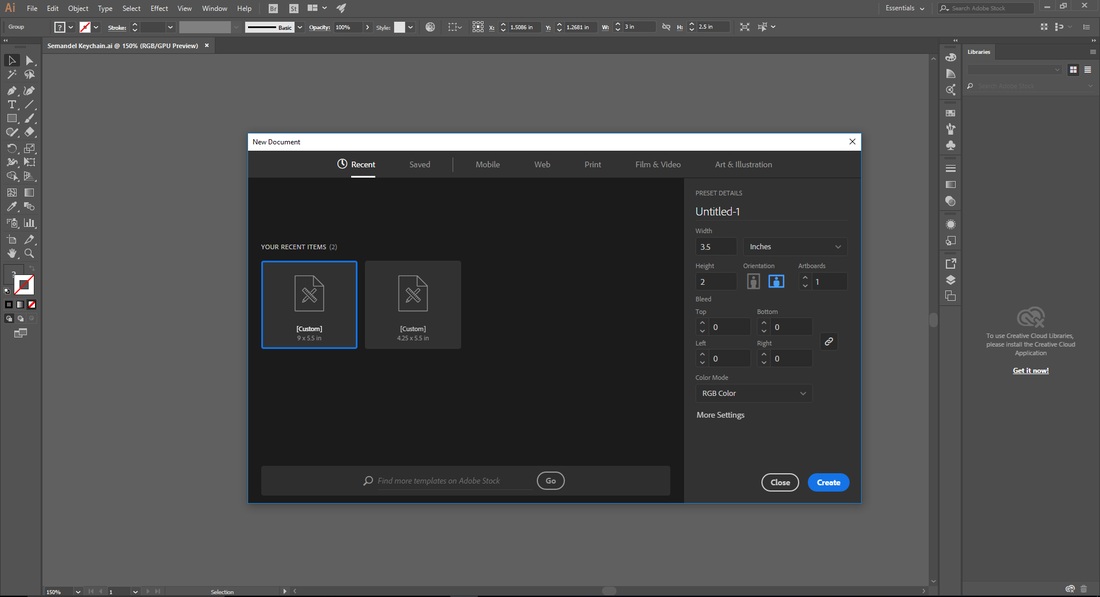
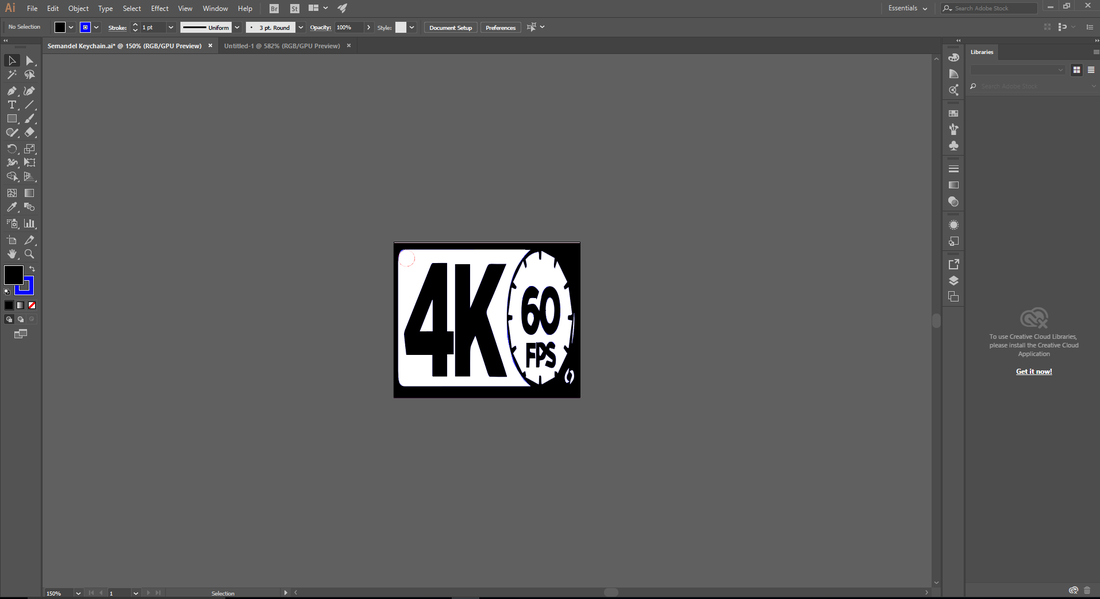
- First thing to is open Illustrator and create a new file, for my key chain I made it 3.5 in by 2 in, made the file landscape orientation, and change the box to the right of the width box to inches.
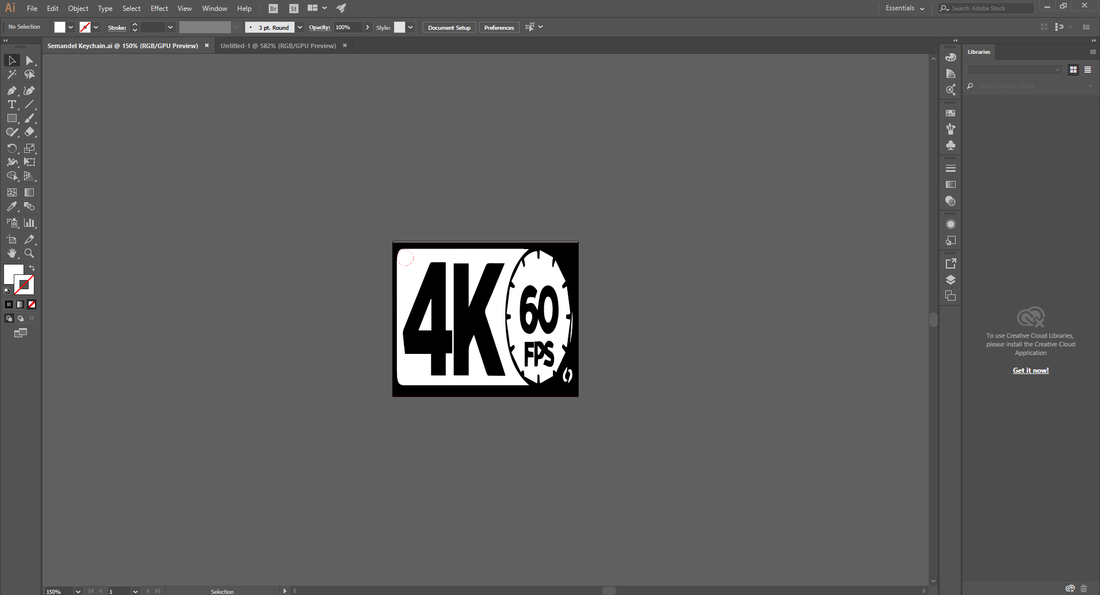
2. Next open your chosen images in the file and scale it to size (you can hold shift to keep it's original size)
3. While the laser cutter is smart we still need to tell it what to do, the laser knows to cut through red lines and engrave blue so start with the cuts. Find the Shape Tool. Click and hold down to see “hidden” tools and select the rectangle. Click once (without dragging) in the middle of your artboard. A small window will pop up. Change the dimensions to size of your key chain. Once sized make sure the borders line up with the image.
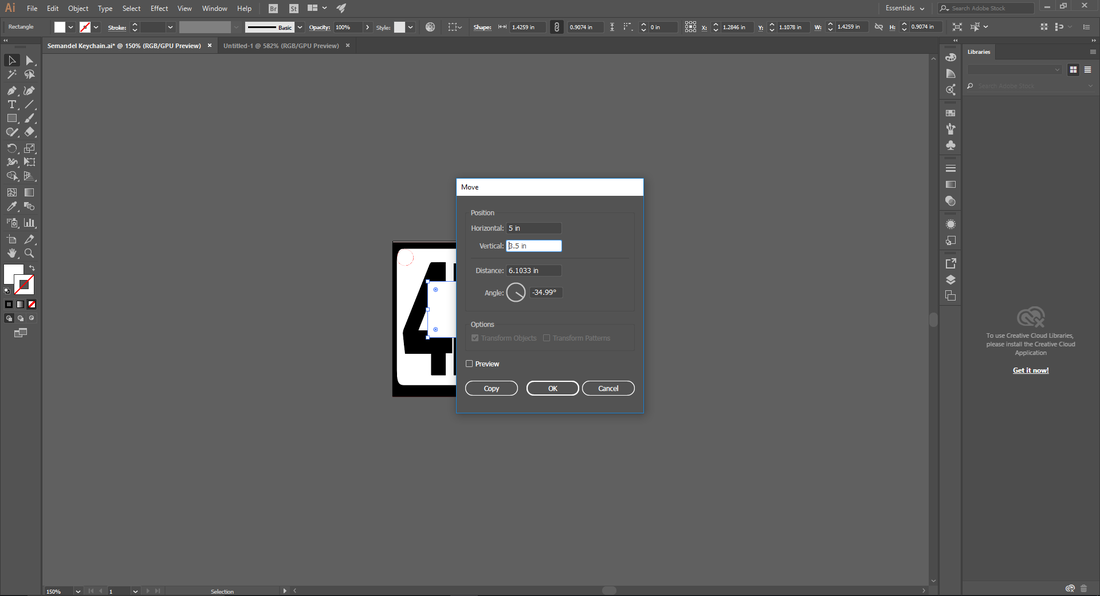
4. Now we have to change this rectangle to line the edge and make it a cut line. First change the "fill" to "none" this looks like a slash through the box, this tells the rectangle to only be an outline. Next change the "stroke" to 0.0001, this tells the laser to make the cut very thing. Finally change the color of the stroke to red "FF0000" this now tells the laser that this cut will be through and through. With the edge of the key chain established we now need to add a hole so that you can loop the chain. repeat the same steps as before but now making it a circle instead of a rectangle and make the dimensions 0.25 by 0.25, and place the circle somewhere near the edge of the key chain.
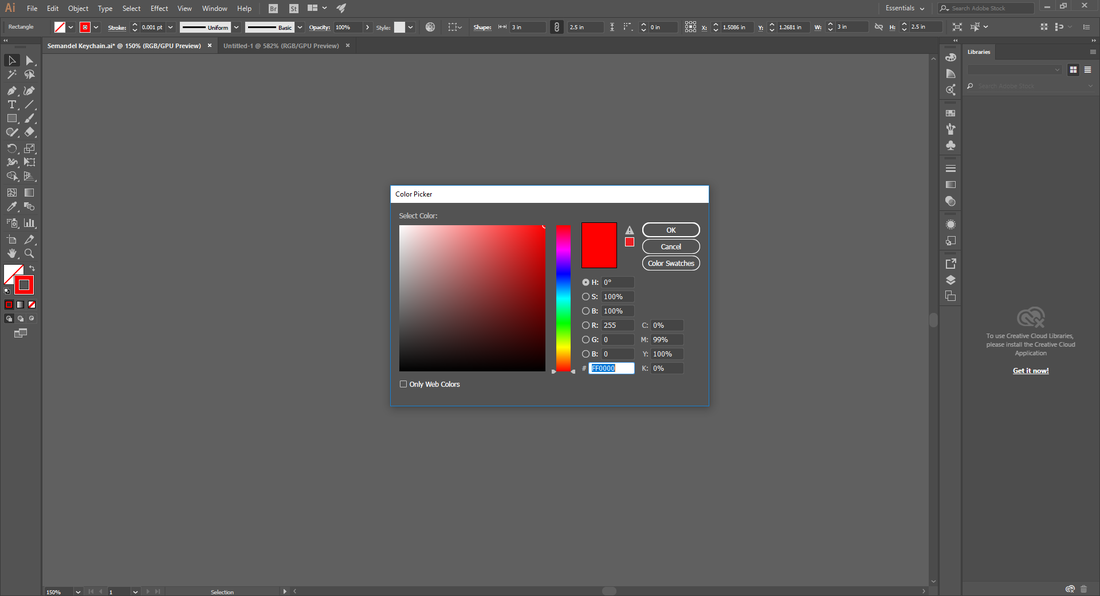
5. Now lets engrave the key chain, with the image selected, click "stoke" and make the color blue "0000ff" this blue tells the laser to engrave the material. Make the "stroke" 0.0001 so that the edges are thin.
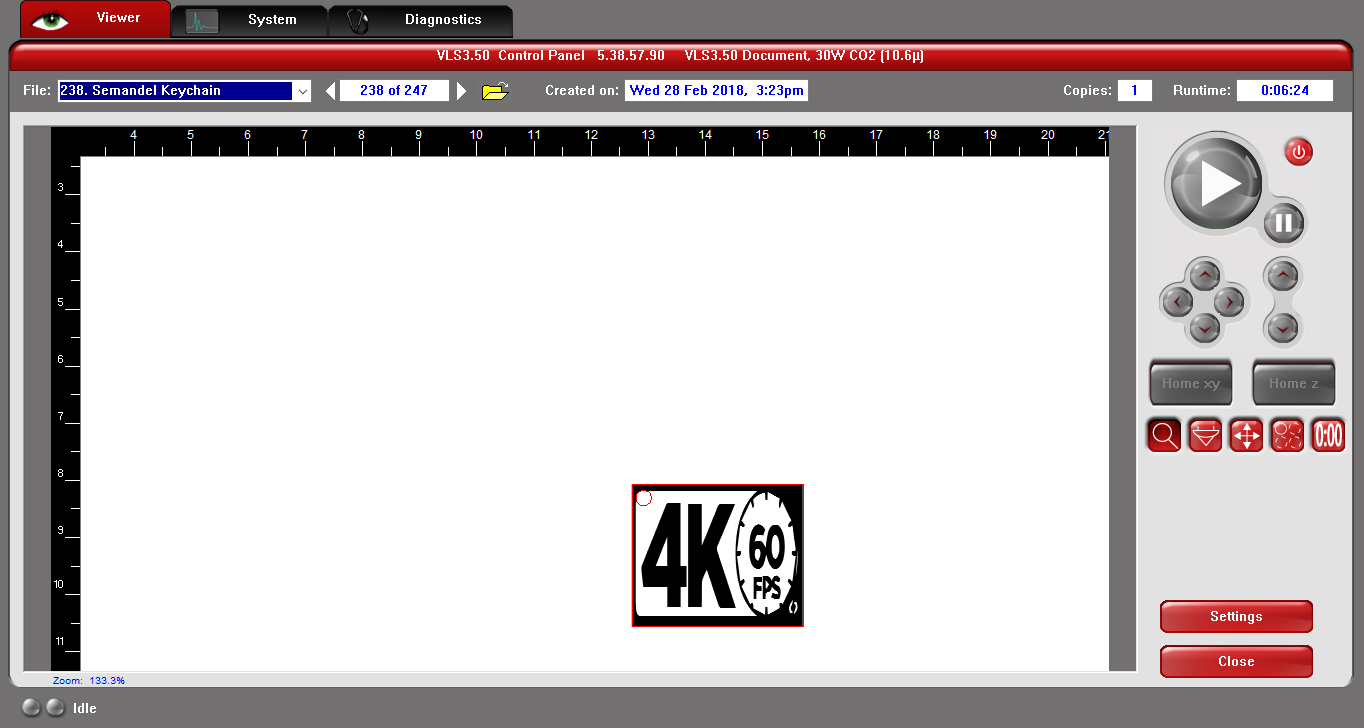
6. Lets move over to the laser engraver now, first thing is the laser needs to warm up so press the power button in the top right corner. While the laser heats up we need to center the object using the tool that looks like an upside down arrow center the object relative to your material. This process is a lot of guess and check so don't get frustrated. I learned this the hard way because my original print wasn't placed well and went of the edge
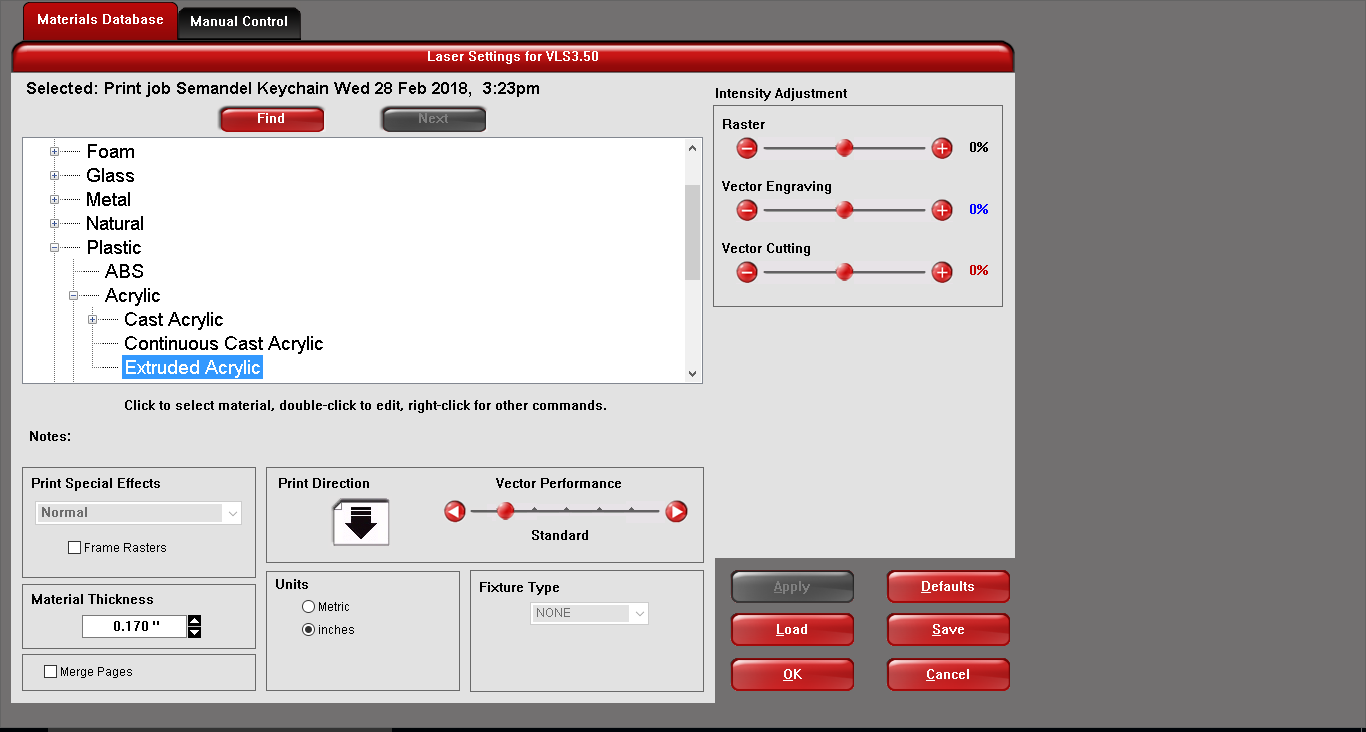
7. Now we need to tell the laser some basic constraints about our materiel, for this project we will be using extruded acrylic (follow the path shown), then we need to tell the laser how thick the material is, using a digital caliber to find the exact thickness. With these things down go ahead and click okay and begin printing it.
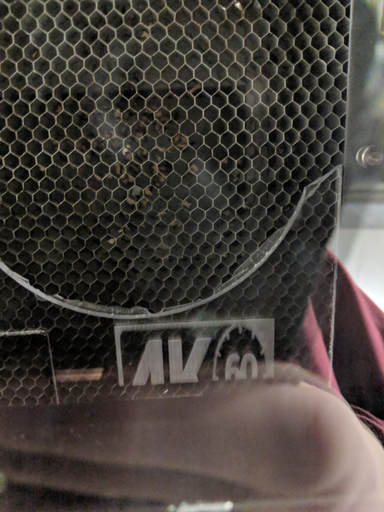
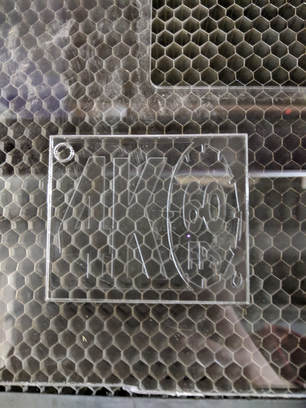
1st try...
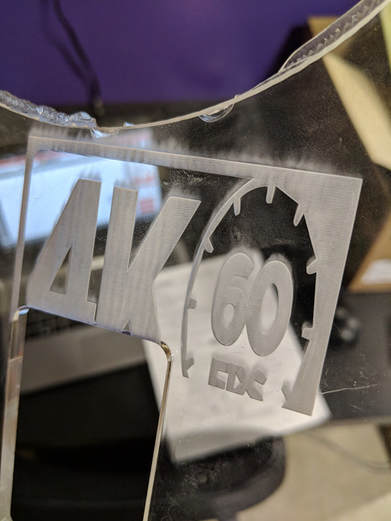
2nd attempt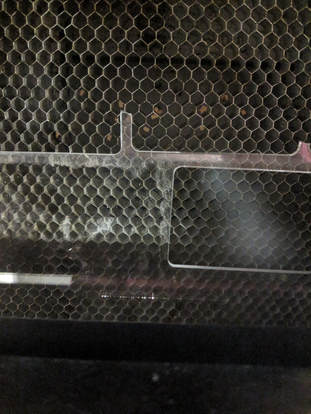
Finished Product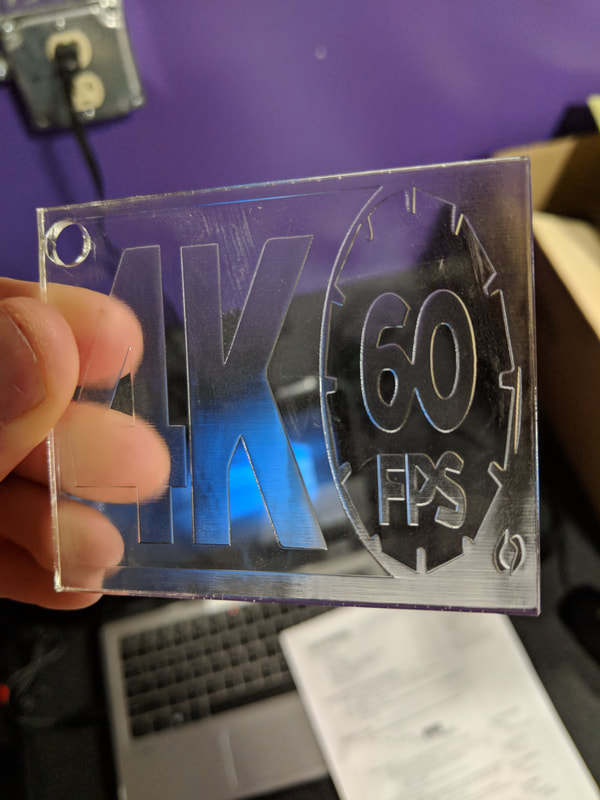
|
|
But wait there's more
Vinyl Cutter Name
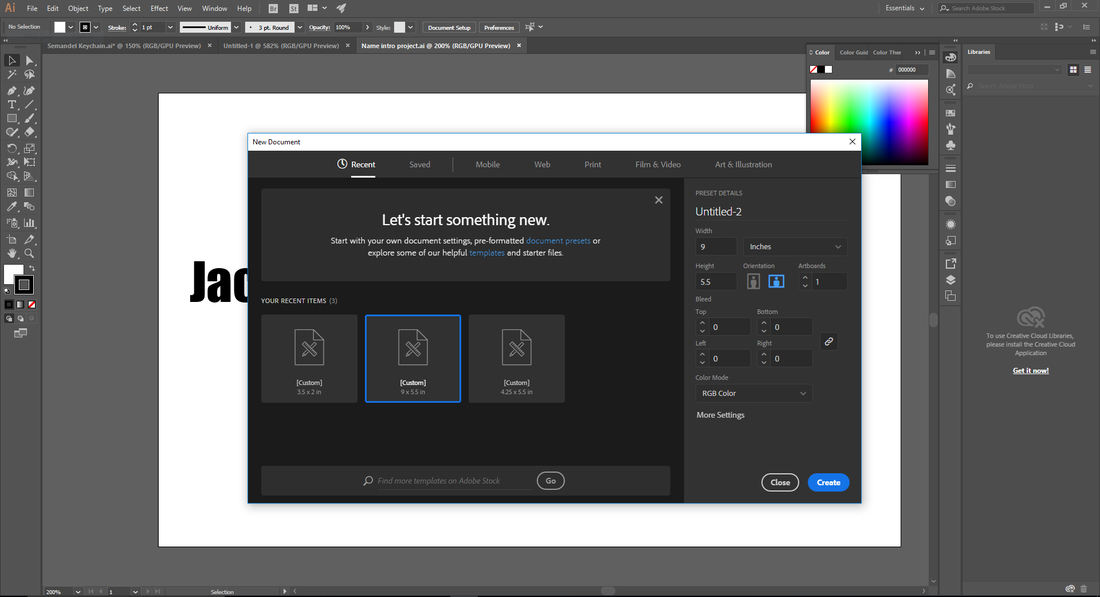
1. Lets begin like we did before, open an Illustrator file and set it to the size and orientation that you want, for this project I used a 9 in by 5.5 in with a landscape orientation.
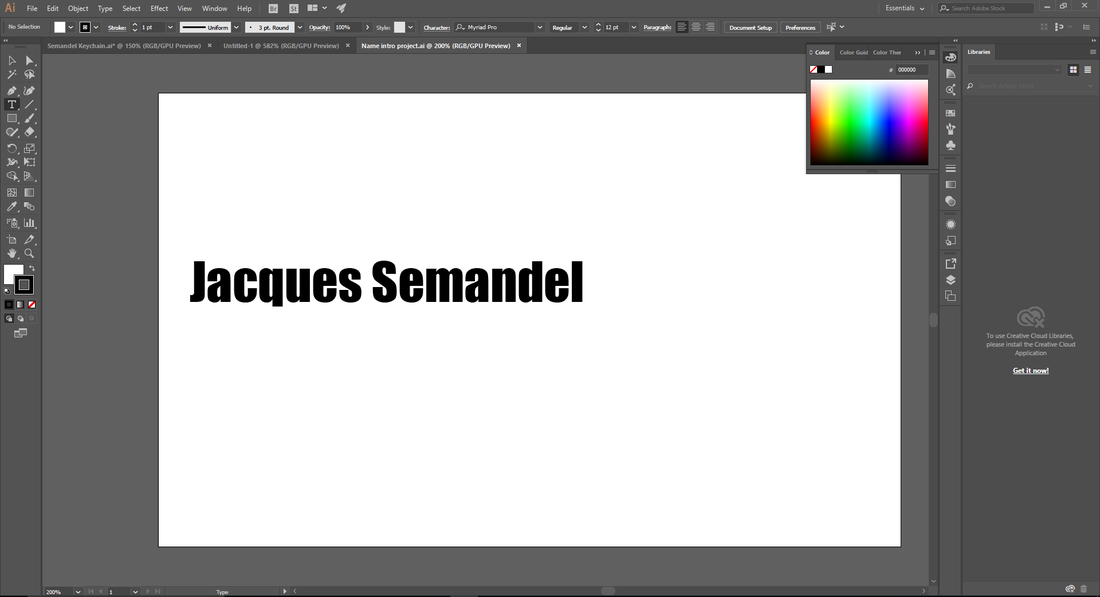
2. Next select the "text" tool and click anywhere in the blank area, type your name and select the font and size that you want. That's it for Illustrator move over to the Vinyl cutter machine now
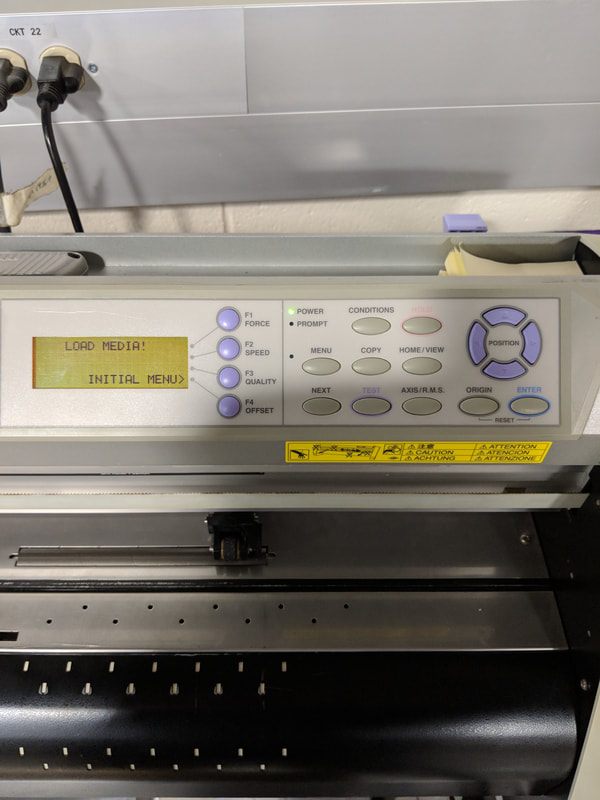
3. Before we start printing we need to set up the machine, start by loading the color of your choosing onto the roll. Then flip up the purple lever located on the top right corner of the cutter. Next Press the "roll -1 front set" button and press enter
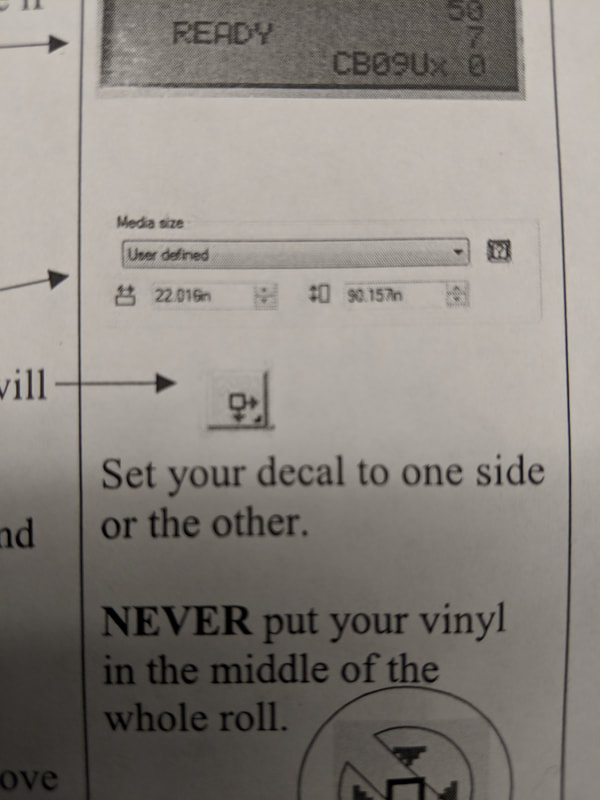
4. Open the Illustrator file and select "Cutting Master 2" and "Cut Plot" make sure the information matches the loaded Vinyl and orientate the image to save Vinyl. Once this is complete click send.
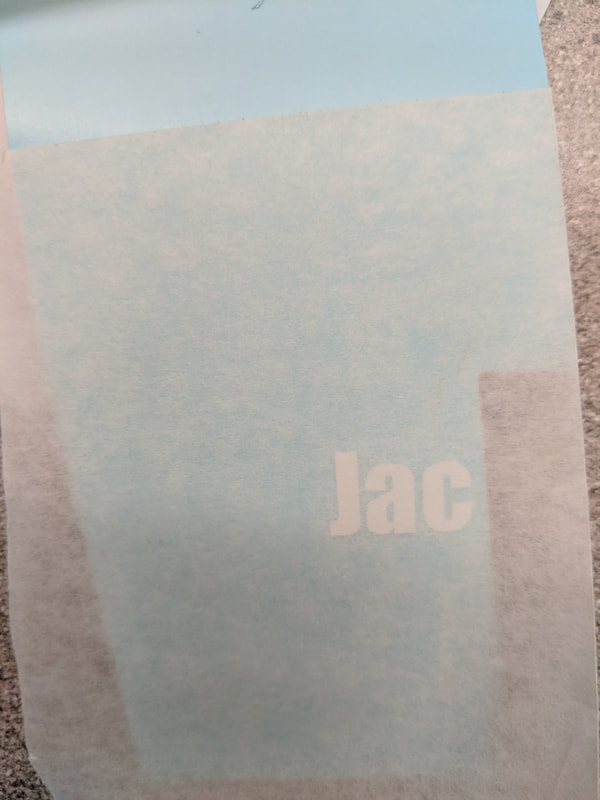
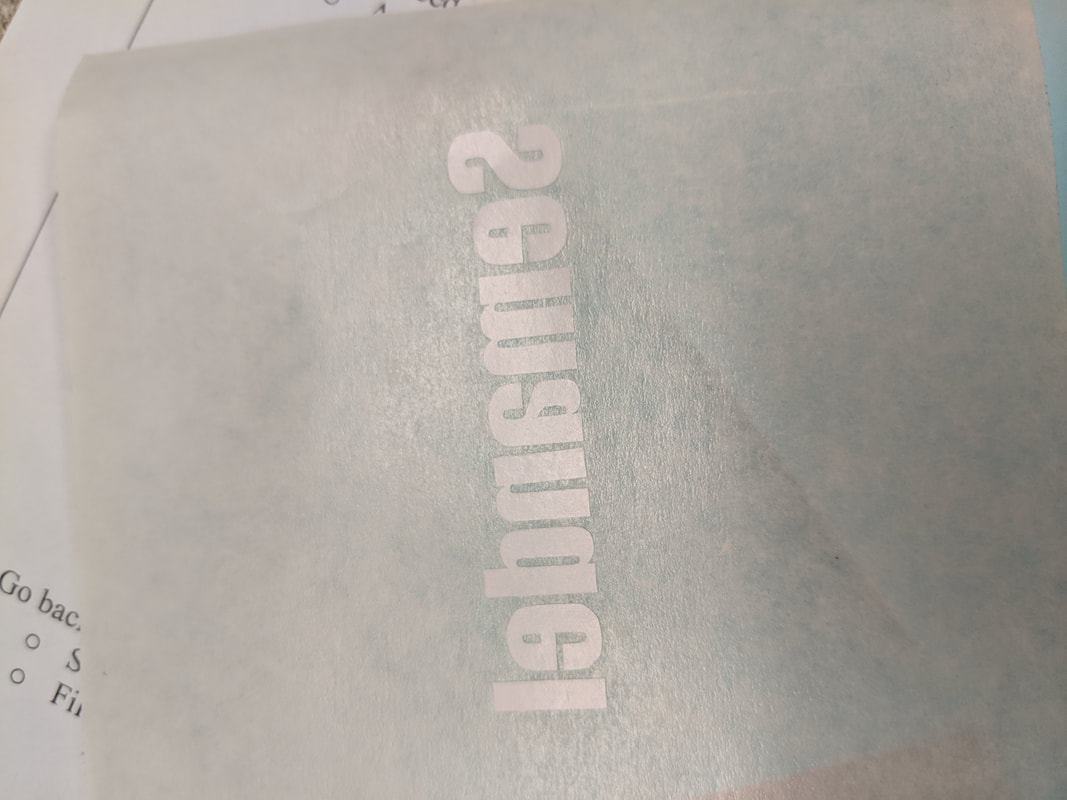
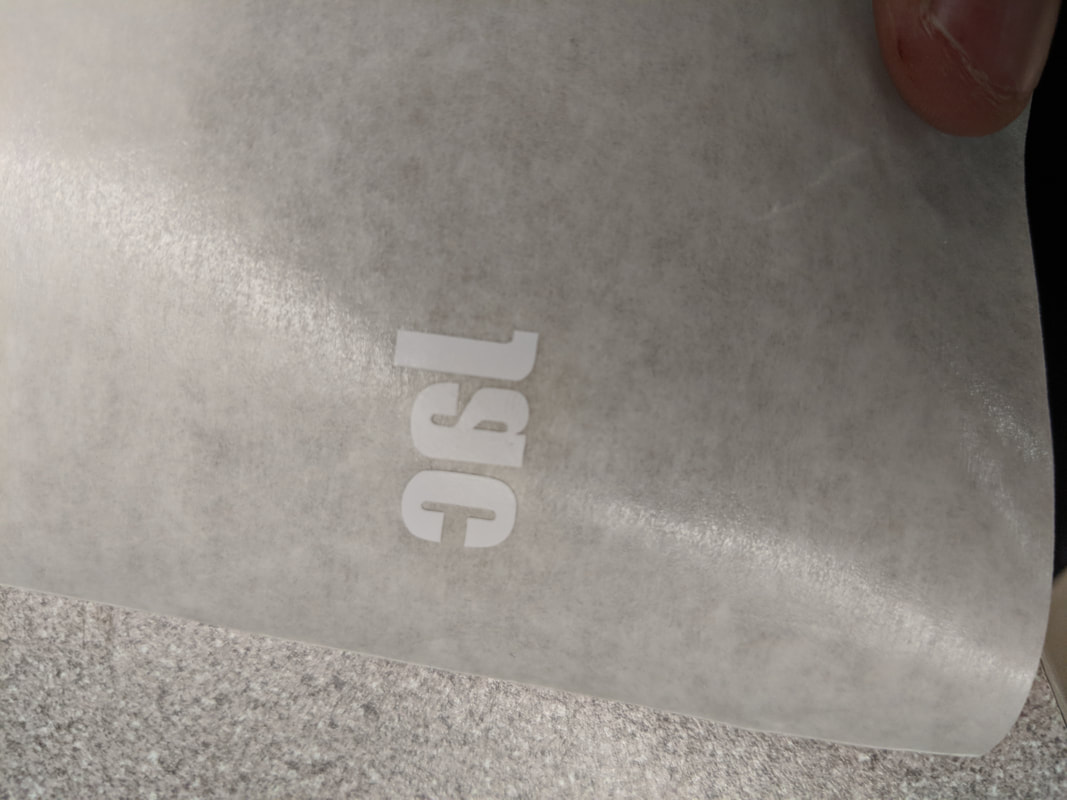
5. Now we need to "weed" the decal which basically means removing the extra material, this is done by first peeling the corner of the vinyl off. Do at a 45 degree angle and pull back on the vinyl, with this done remove any small pieces with the tools provide, finally with the vinyl cleaned off place a piece of transfer tape over the design and press down to apply design.
|
After weeding, with transfer tape on
Pulled from the Vinyl backing
|

|
|
|
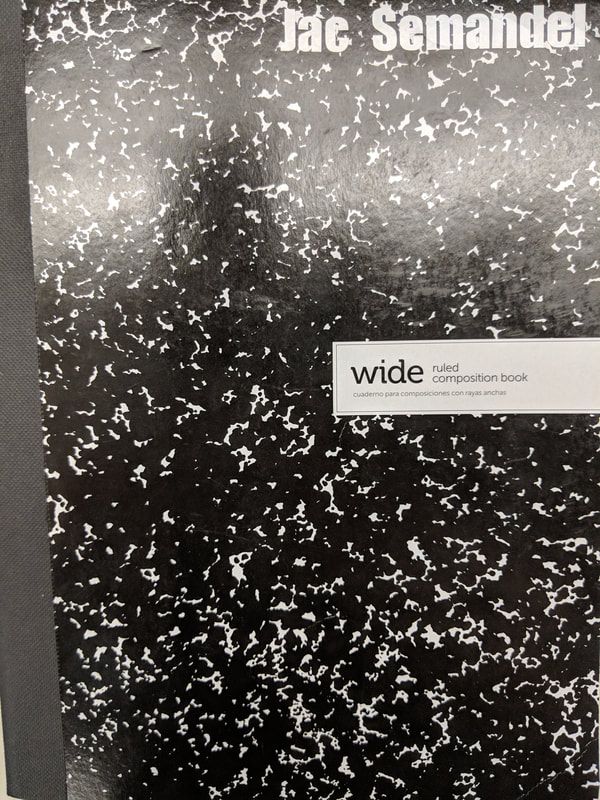
Finished Product
|
|
What I learned...
In these activities I learned the basics on Illustrator, including the fact that Photoshop uses traditional pixels while illustrator strictly uses two dots connected by a line. I also learned how to use two different machines in the innovation center including the laser cutter and the Vinyl cutter. Specifically I learned that the laser cutter recognizes different colors as different types of cuts to make. For the Vinyl cutter I learned that if you want to print multiple colors you have to separate the shapes in the image into separate layers and assemble them yourself. Overall Illustrator provides a way to make large high quality prints.
