What is Inventor?
Inventor is a program that allows designers to to model their objects in a 3-D space before building it in a real space. It also makes the sharing of ideas to many individuals extremely easy because the files can be sent digitally instead of in a physical medium. Inventor works on a very basic process of first designing the object in a 2-D space then "extruding" the object into the Z axis. This combined with additive and subtraction method of adding parts creates a very intuitive system of creating 3-D objects. While modeling is cool the real fun comes in when you get to build it. This is done by transferring the file into "translator" program called "Makerbot". With the file readable you can put the USB into the 3-D printer and the machine does the rest, so technically you didn't really build anything:(
Creating a Widget
Step 1:
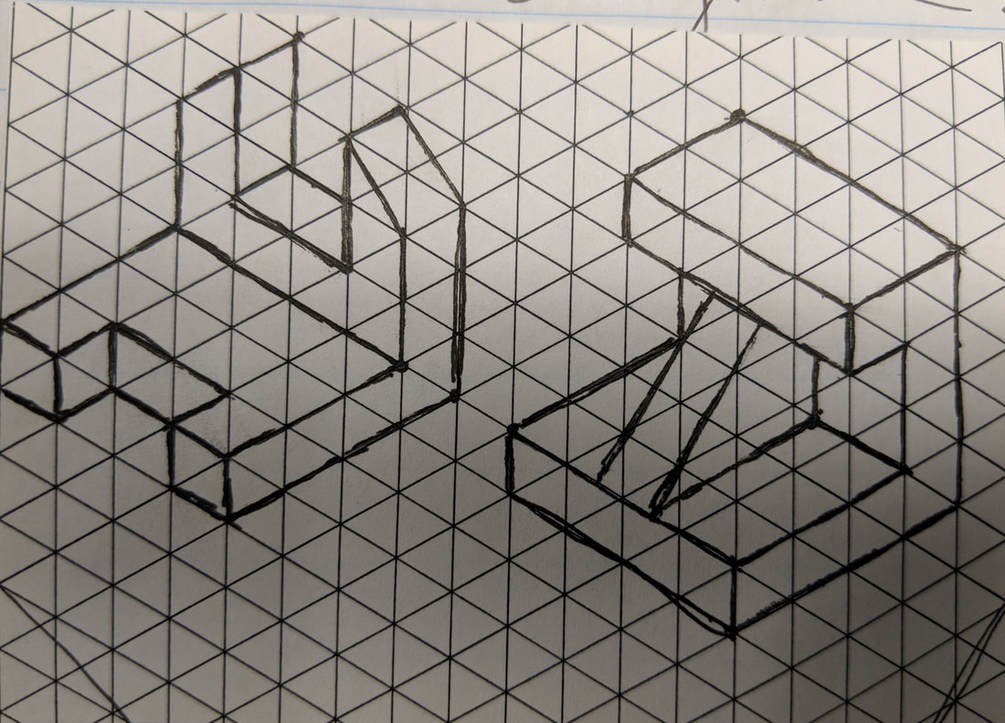
Hold up there partner, you can't just go into Inventor and start designing. You need a good-old fashion hand drawn sketch to get all your ideas down
Step 2:
|
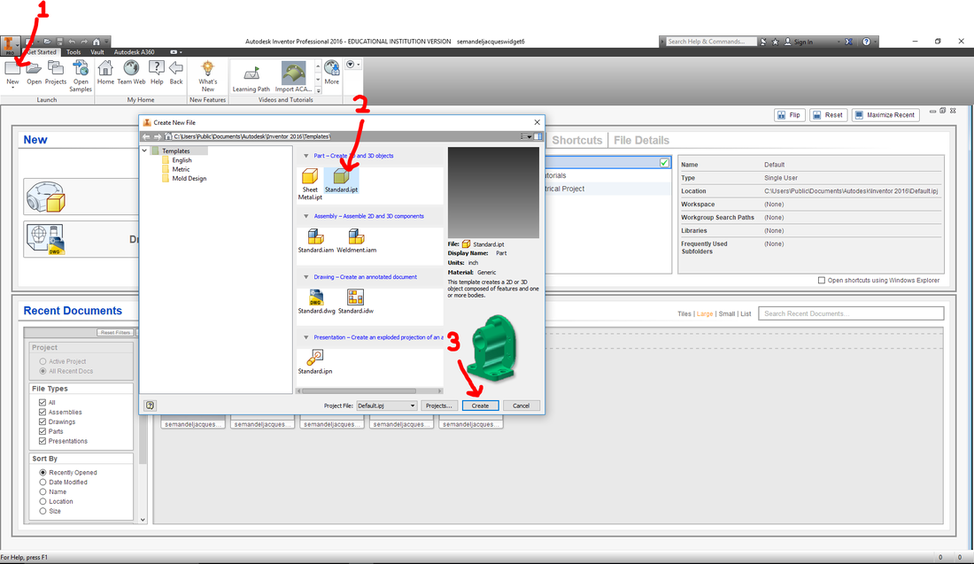
With your pretty sketch done. Open up Inventor, click new, select "Standard.ipt", and click "Create"
|
|
Step 3: |
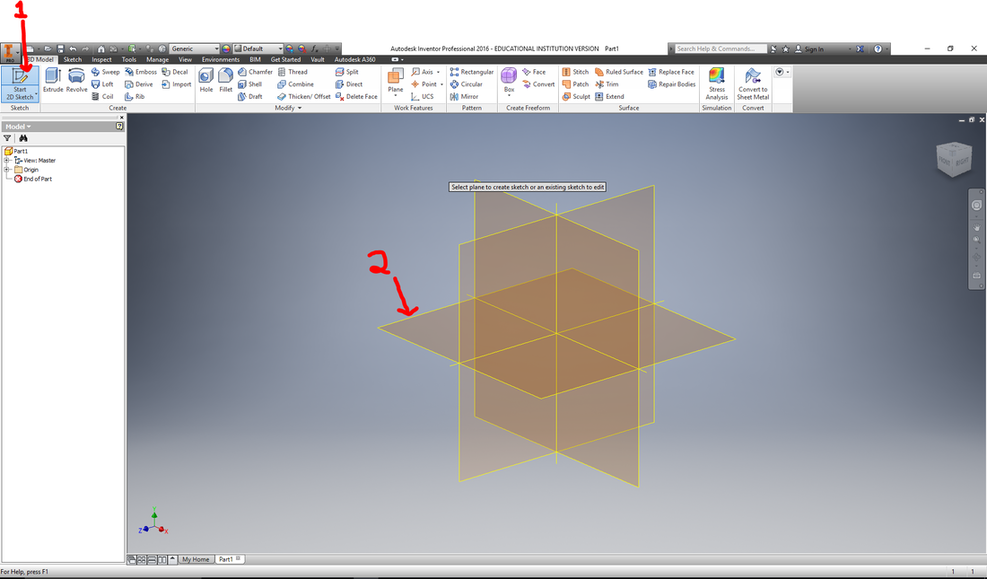
Once the file has opened select the drawing tool in the top left corner, and select the XZ plane (Most widgets start with the XY plane but this specific one lends itself to beginning with a top-down view)
Step 4:
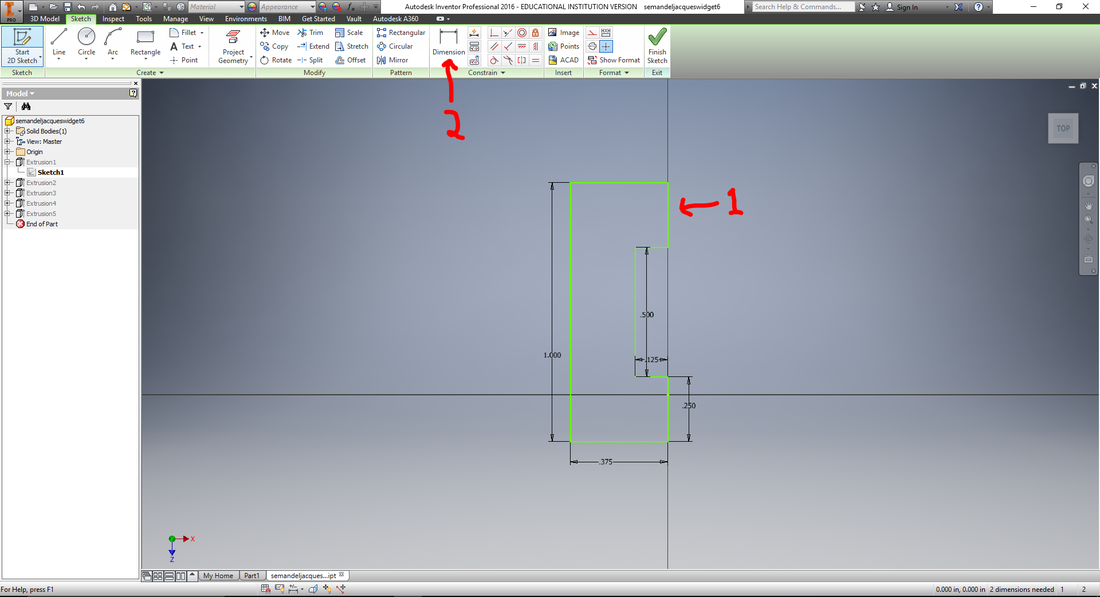
Now you are viewing a 2-D plane, Begin drawing the basic shape seen below (Don't worry about the dimensions yet), With the basic shape drawn select the dimension tool and select a desired side, once you click enter it will ask for a size type the desired size
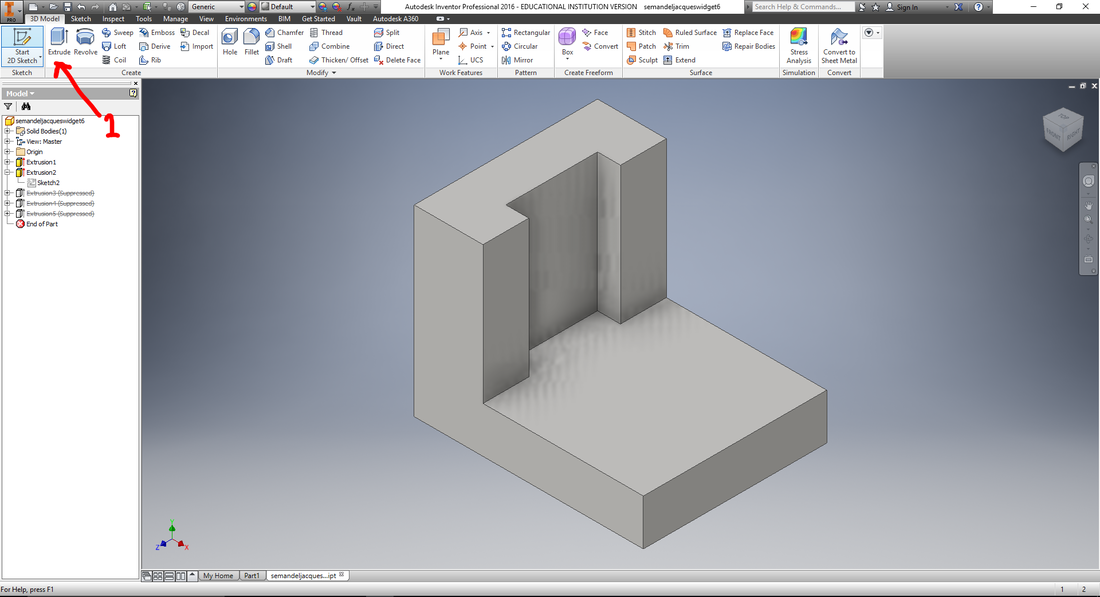
Step 5:
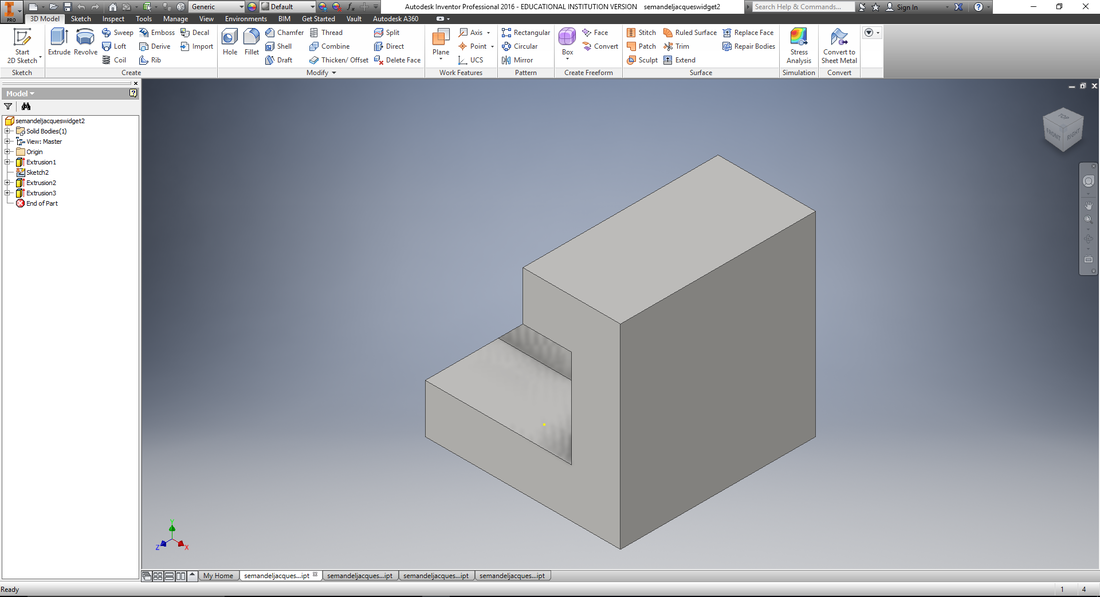
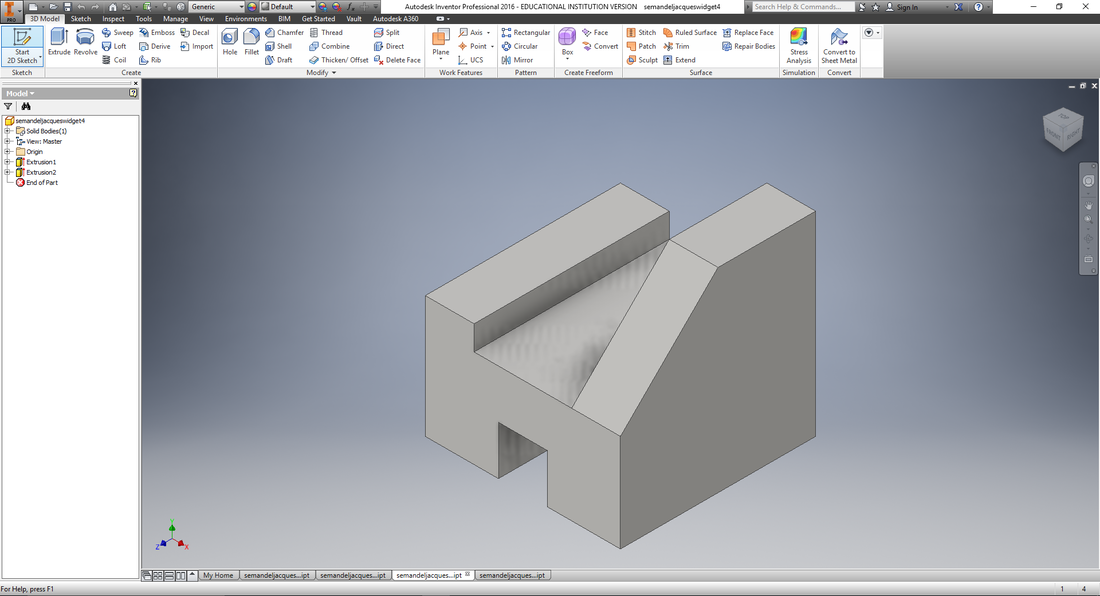
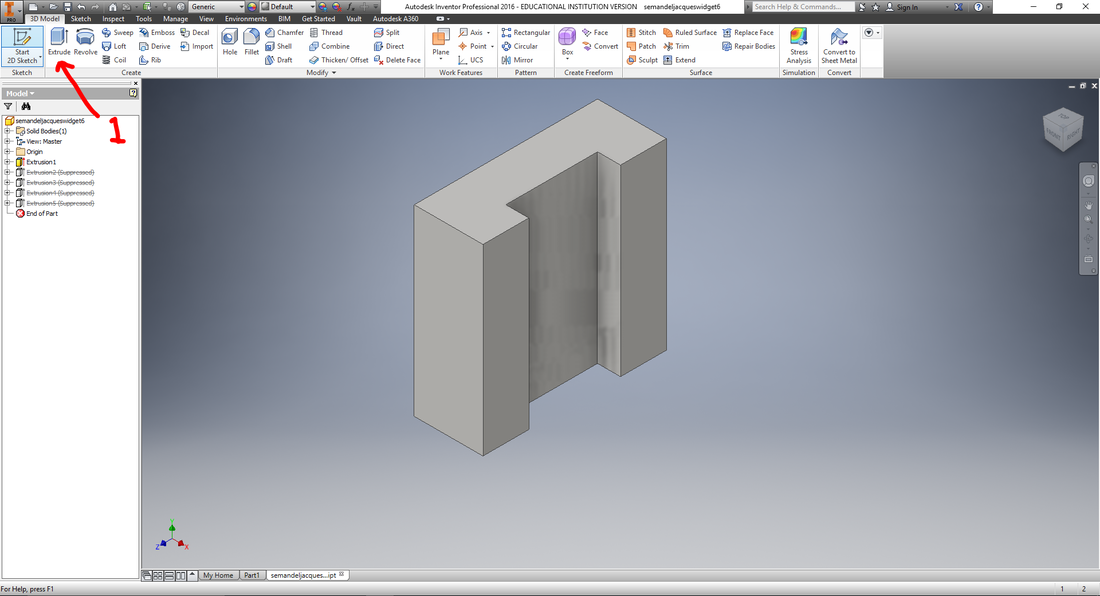
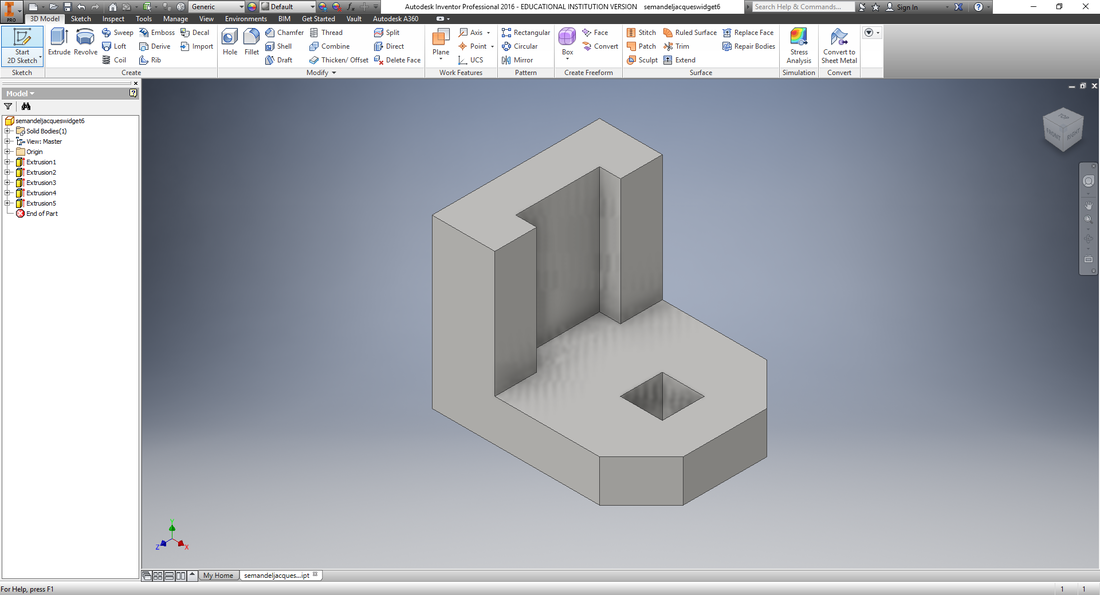
Once you've clicked "finish sketch" the camera will pull out to a 3-D view, from here select the extrude tool and type in the desired length
Step 6:
Now we need to add the the base, click the "sketch" tool again and select the broad face of the object, from here select the "rectangle" sketch tool and draw a rectangle along the base of the object
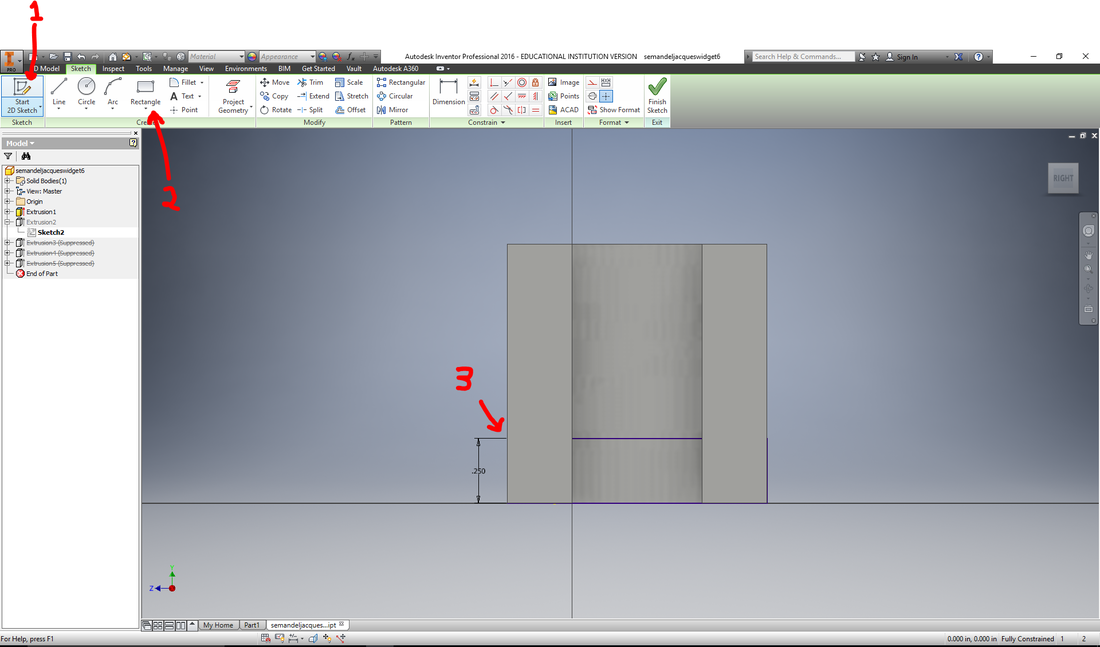
Step 7:Similar to step 4 you want to select the extrude tool and type in the desired length
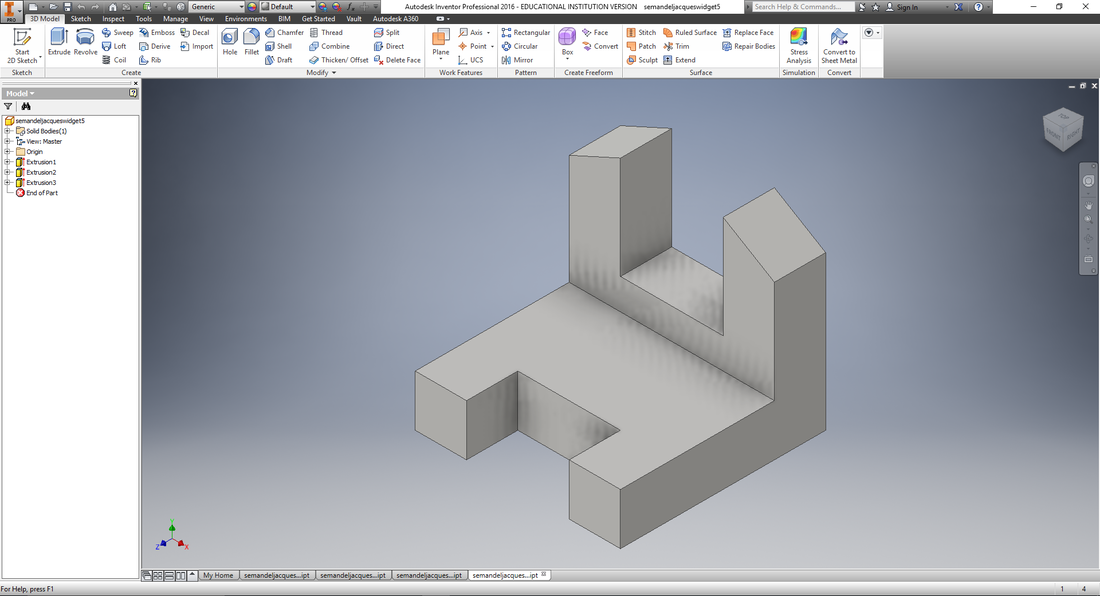
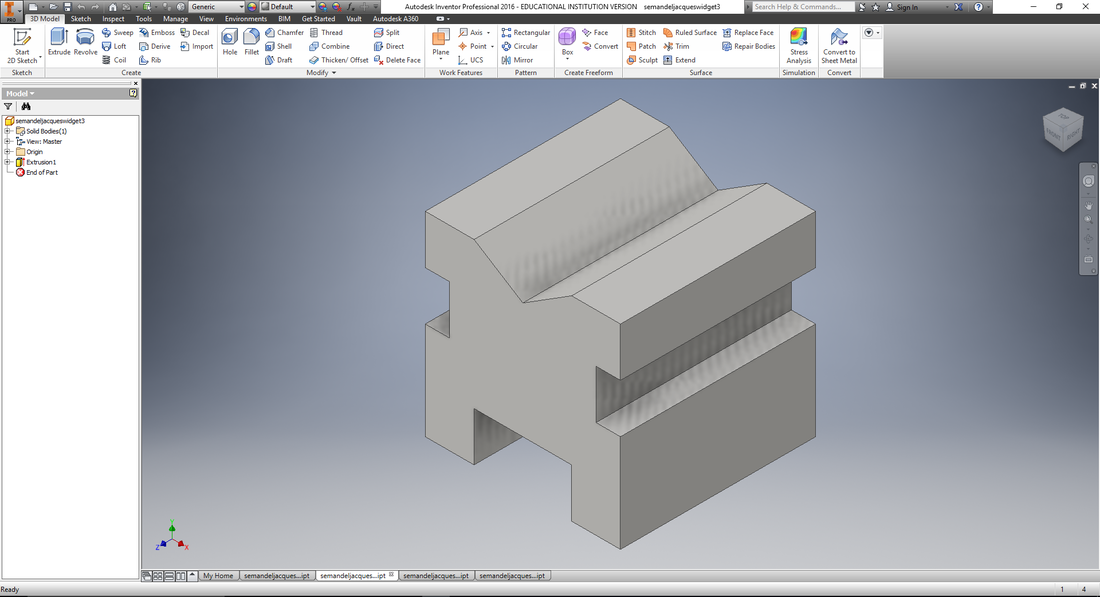
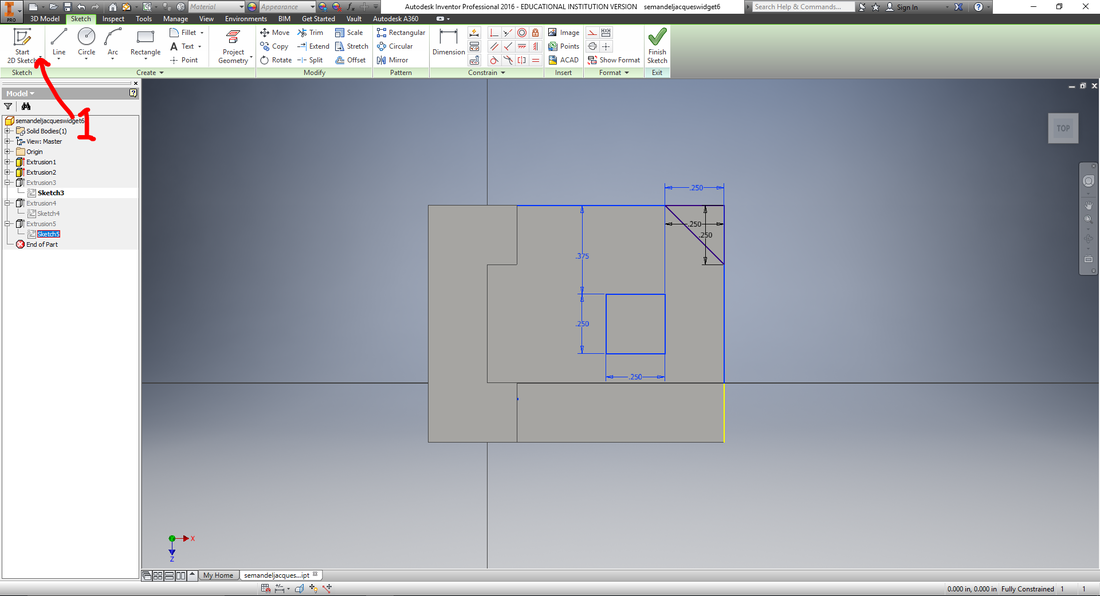
Step 8:Select "Sketch" again and click on the newly created face, draw two triangles in each corner and a square in the center. Click "Finish Sketch"
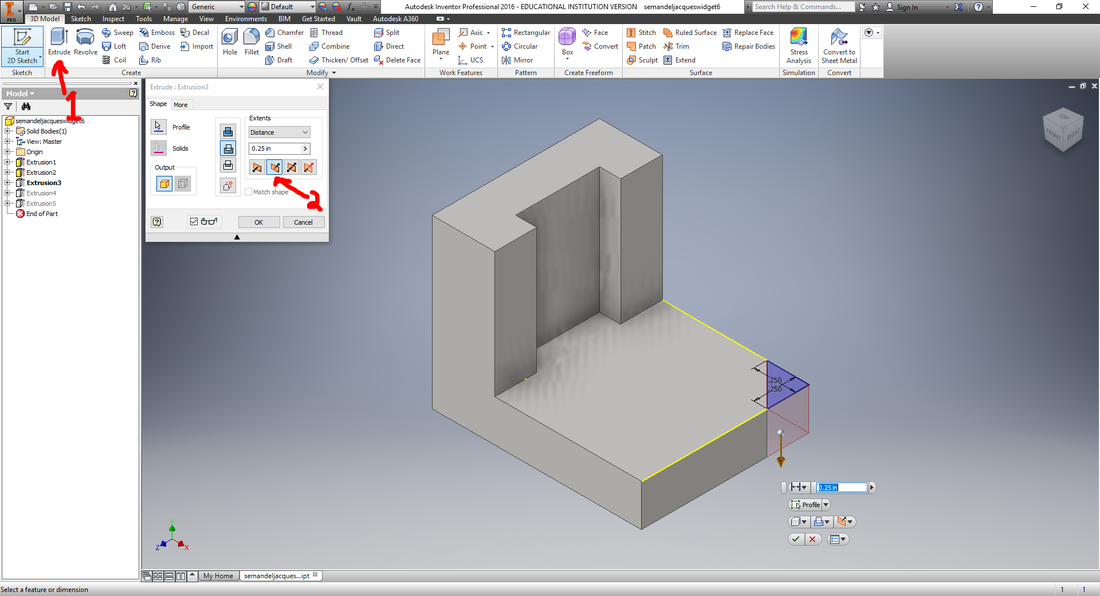
Step 9: Again click extrude for all the pieces and make them the height of the base (Make sure to click the select extrude option so that it subtracts instead of adds)
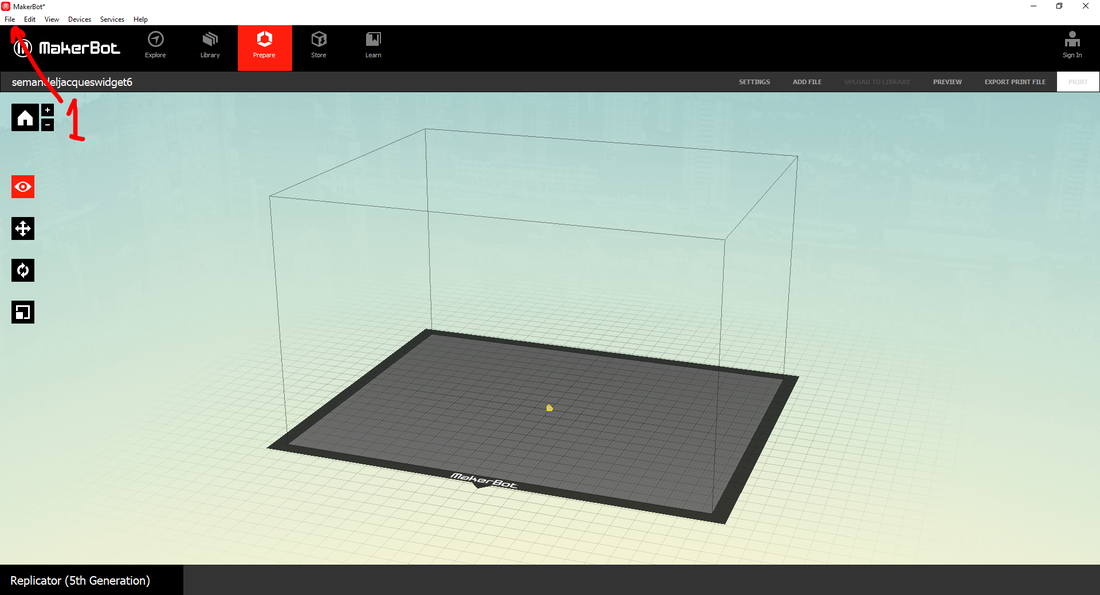
Step 10:With the Inventor model finished you can move it into the translator program "MakerBot"
Step 11:With MakerBot open select "File" and then "Open" and find your file
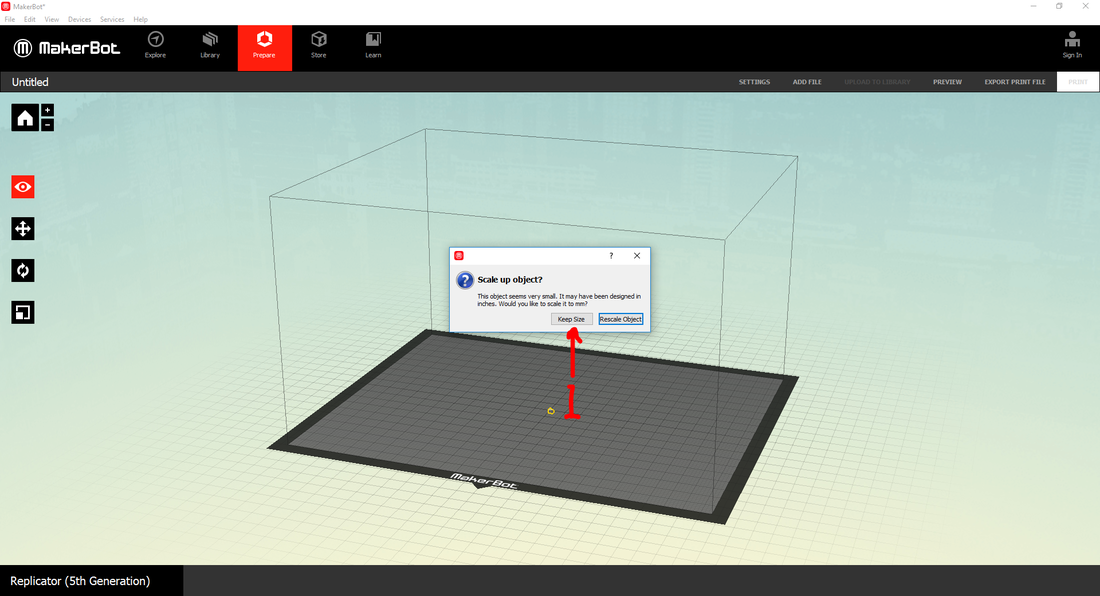
Step 12:IMPORTANT NOTE: make sure to select "Keep Size" so that the program doesn't scale your model
Step 13:Select "Settings" and match the following options
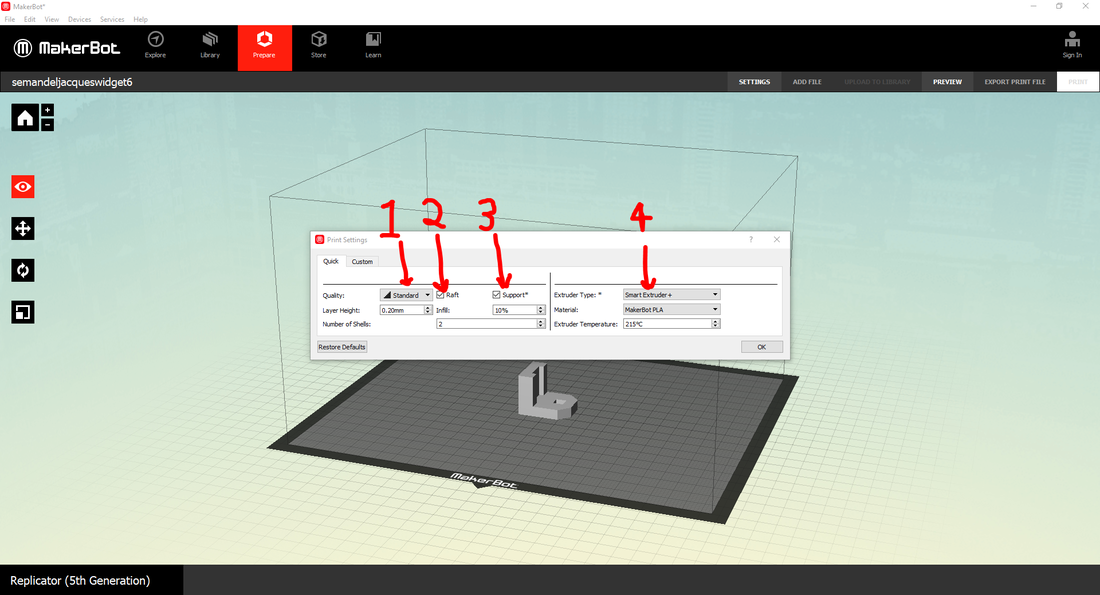
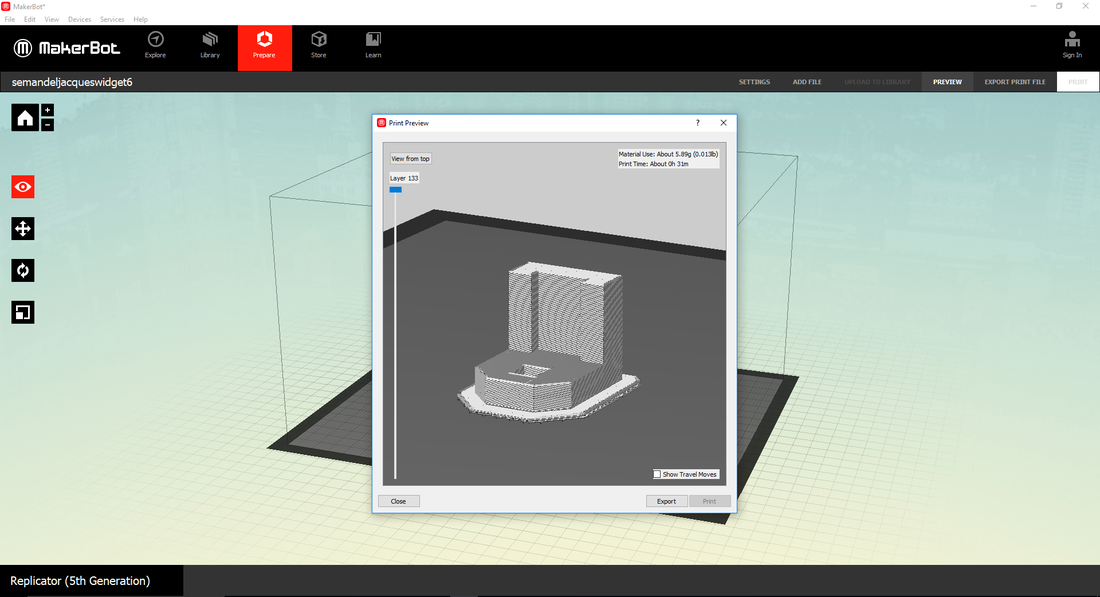
Step 14:Select "Preview" to see how the model will turn out, from here save the model to a flash drive and go print it!!!
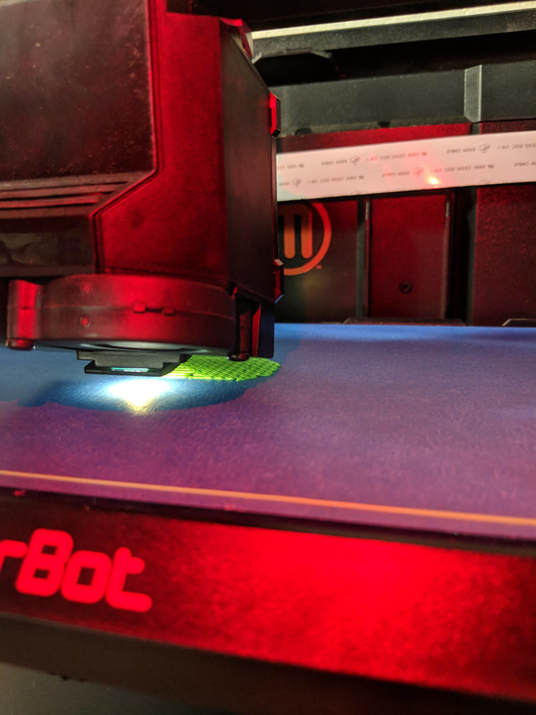
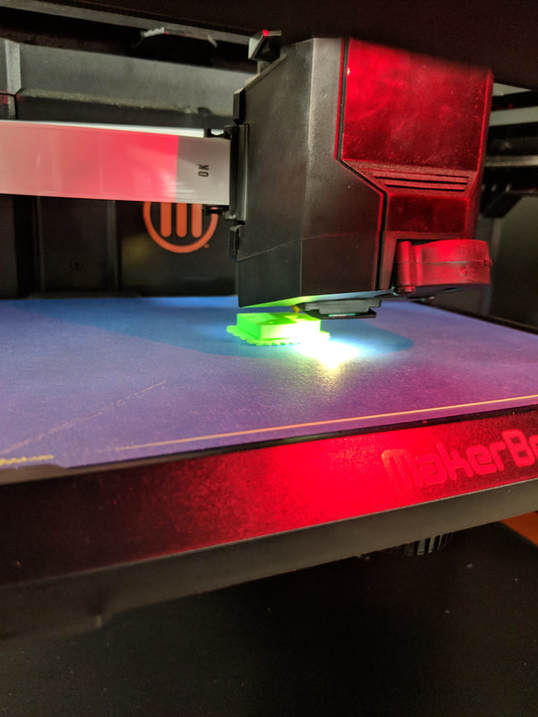
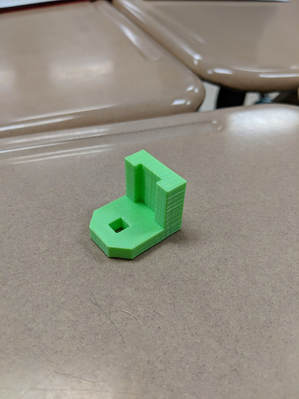
Step 15:Printing WooHoo
|