Vinyl Cut
The guild lines for this project were extremely general, all we had to do was create a design that had 3 colors, fit on a 12in x 12in area, and must be applied to an item we actually own.
Step 1
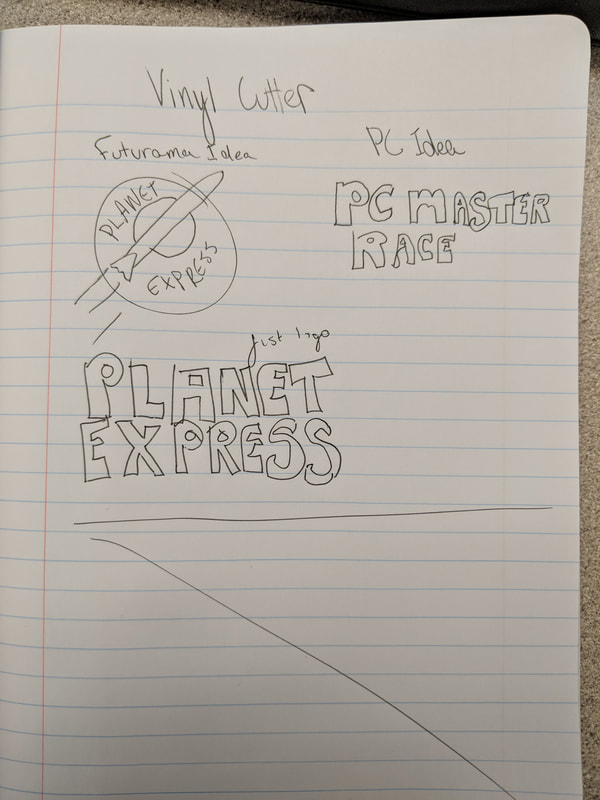
First I had to get an idea what I wanted to do, my first couple ideas were logos for TV shows I like and one for my PC at home
Step 2
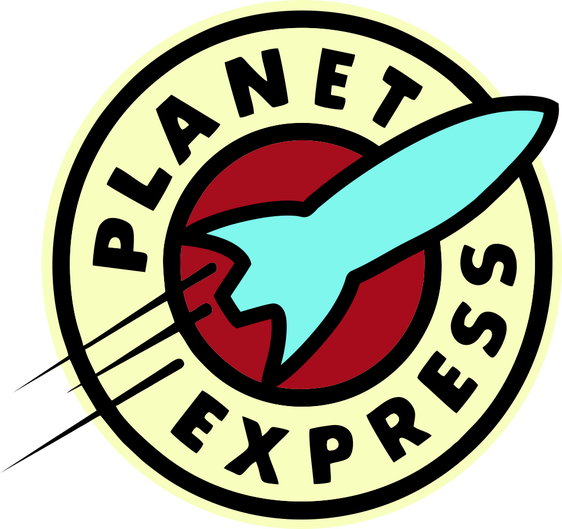
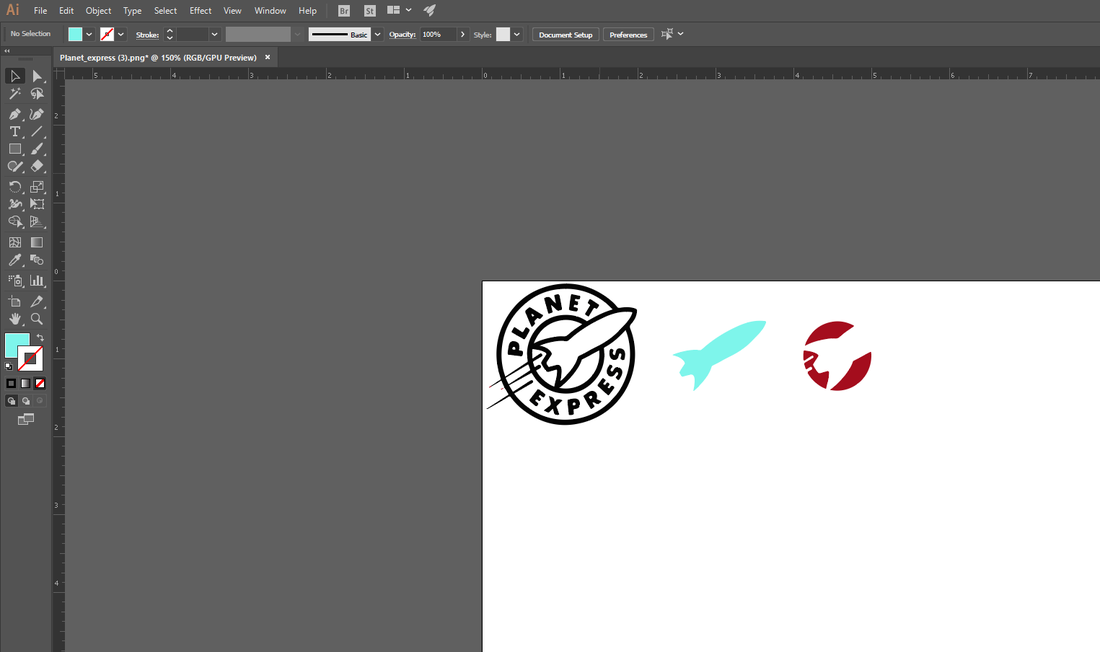
I ended up picking the planet express logo from Futurama, it was visually applying and conveniently already made up of three colors. After this I pulled the design into Illustrator, from here I imaged traced the logo and then separated by 3 colors. With this done I pulled the 3 pieces of my cut apart and put them into desperate Illustrator files.
Step 3
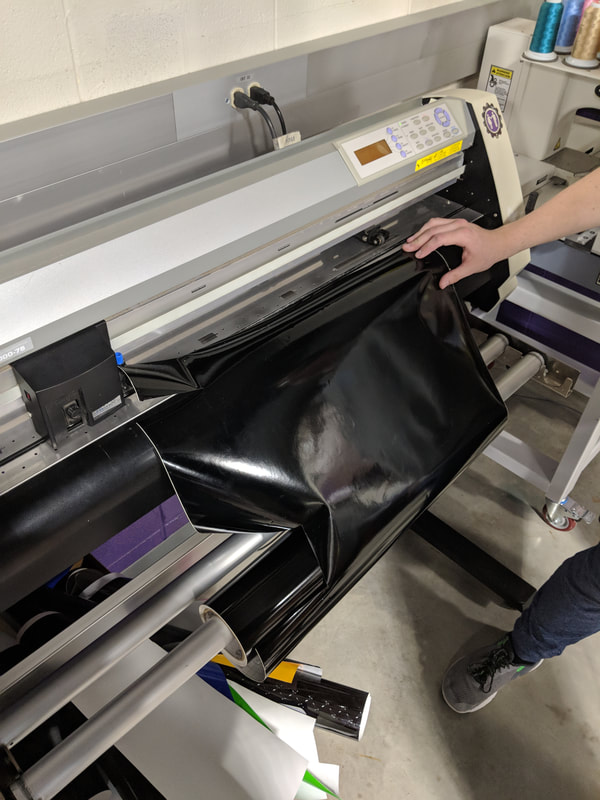
I took my flash drive down to the Vinyl cutter and followed the setup for the actual machine provide on the Innovation Center Weebly page.
Step 4
With the cuts finished, I removed the Vinyl from the machine and started the weeding process
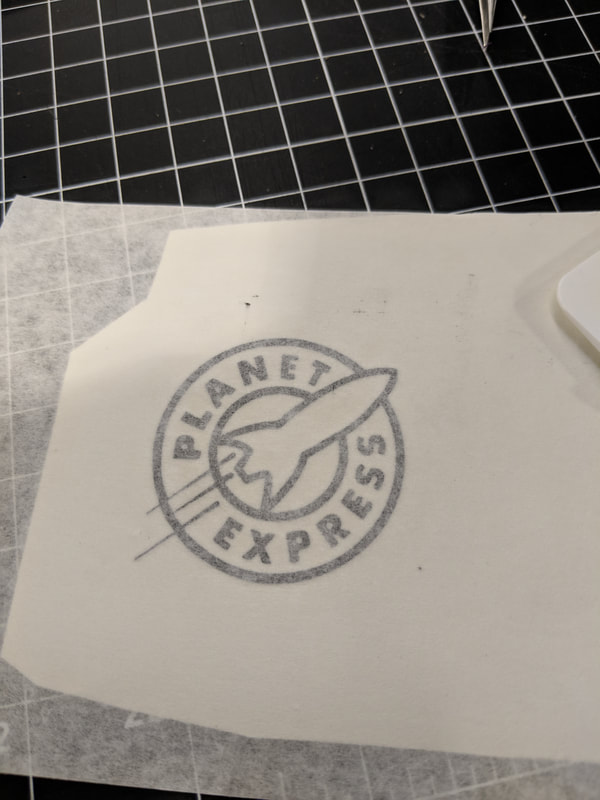
Finished Product
With the cuts on the transfer tape, I applied the 3 parts to the back of my phone

Summary
I learned a great deal about Vinyl cutting during this project. The first and most frustrating thing was how to work with small objects the tiny letter of the logo were a pain to work with and required a lot of tedious work to get the letters to transfer well. Secondly I leaned a lot about how Illustrator and how it can be used including the feature of it grouping every pixel based on color value, this feature took a long process of hand cropping it in Photoshop and cut it down to a few seconds. Lastly I leaned about how to used the vinyl cutter, I was required to think about the best way to orientate my cut to reduce the amount of Vinyl I wasted due to cutting. I also learned how quickly the Vinyl cutter operates making even larger cuts take a few seconds at most. If I were to do this project again I would definitively make the cut significantly larger and apply it to something other than the back of my phone just to reduce the headache it caused trying to transfer the project.
