Note: This is an overview of the process for my laser projects, for a step-by-step on how to laser print refer to the page labeled "Illustrator"
Notepad
For are first project we had to make/find a design to be put onto the front and back of a notepad.
Step 1
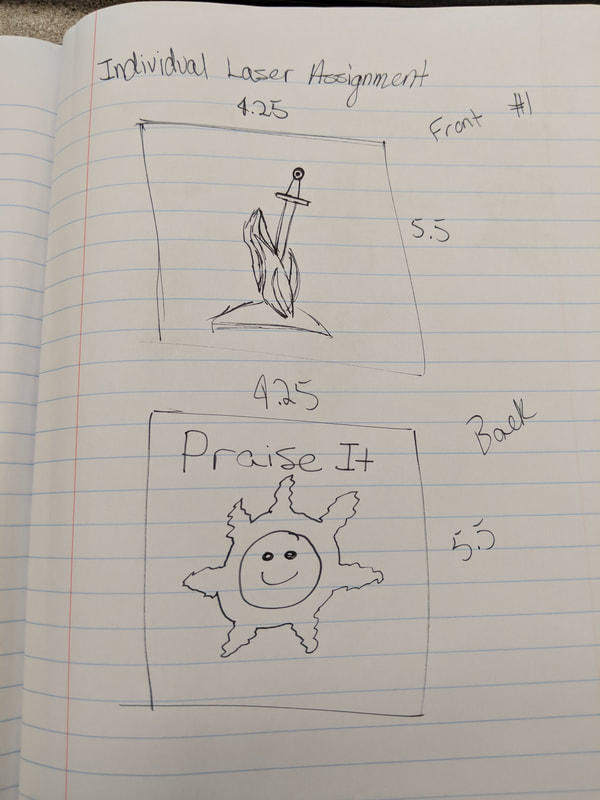
To begin I had to get an idea of what I wanted, I started with some basic hand drawn designs. I knew I wanted something in reference to my favorite video game, Dark Souls.
Step 2
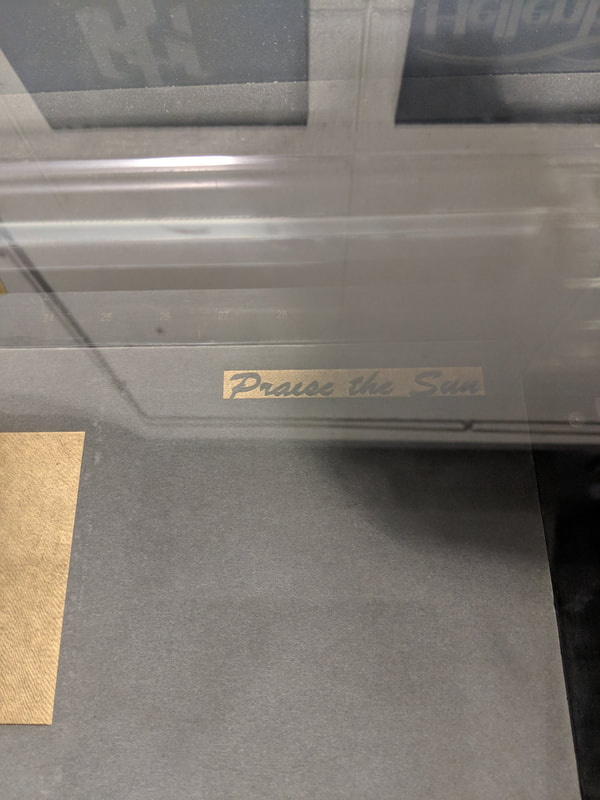
Next I needed to put the my idea into illustrator. At a stroke outline of 0.0001 and make it red. For more detail refer to the Illustrator page. Finding the imaging were easy, my main conflict was picking a font that would print well.
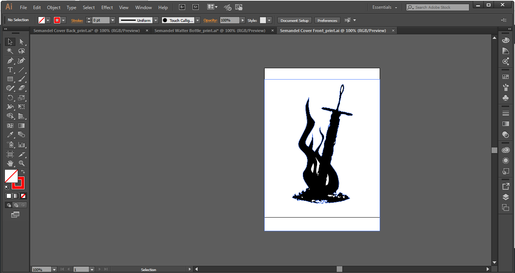
Step 2.5With my photos and font ready I put it all together in Illustrator
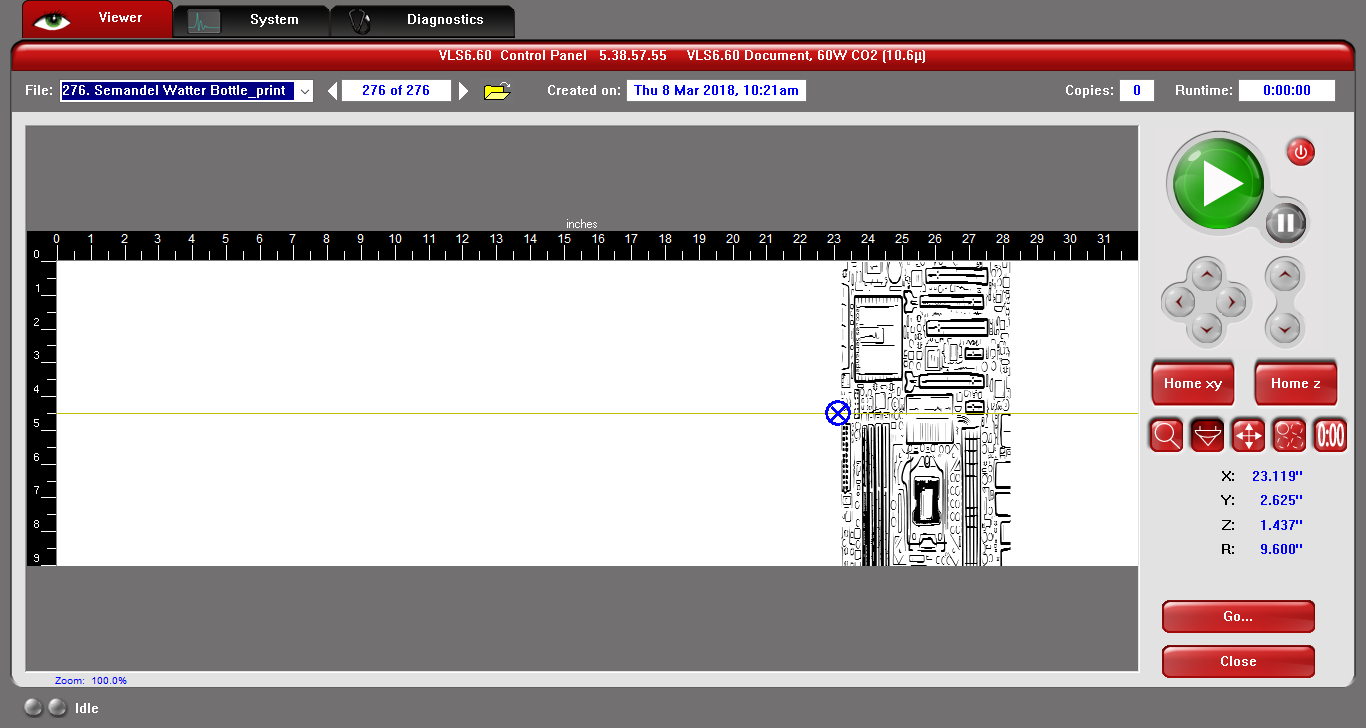
Step 3Next I set up the images in UCP. Make sure to set the print settings to the specific material and thickness you want. Refer to rubric.
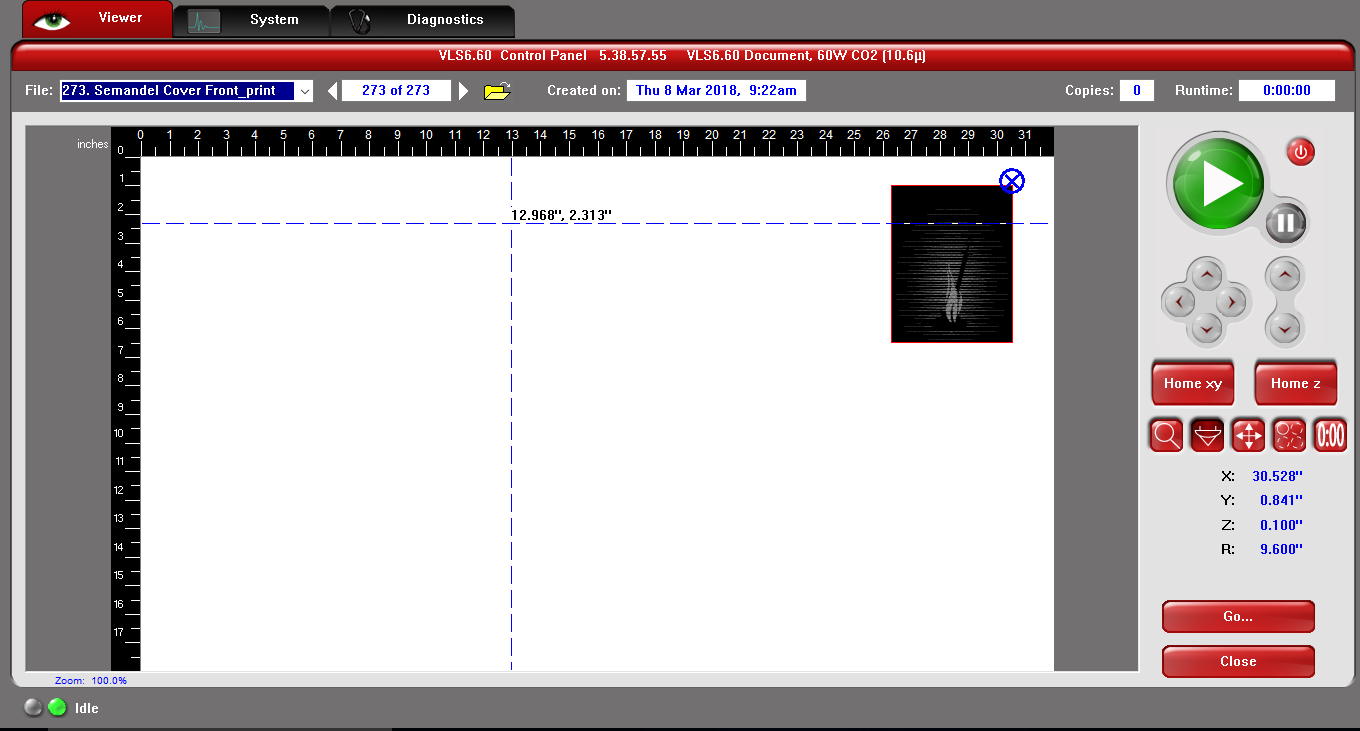
Step 4Printing
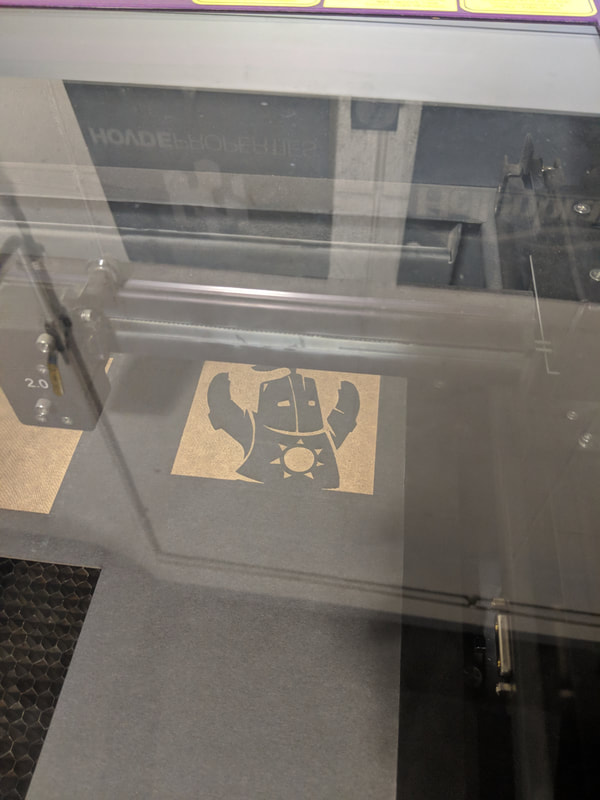
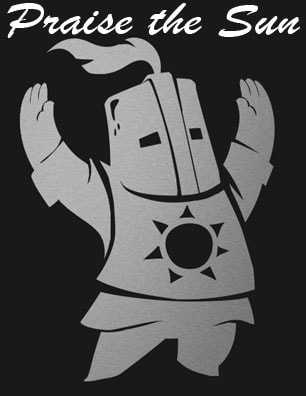
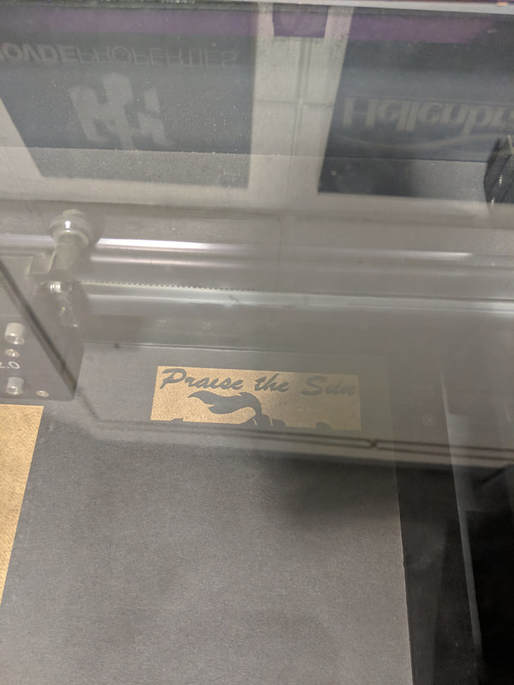
Final product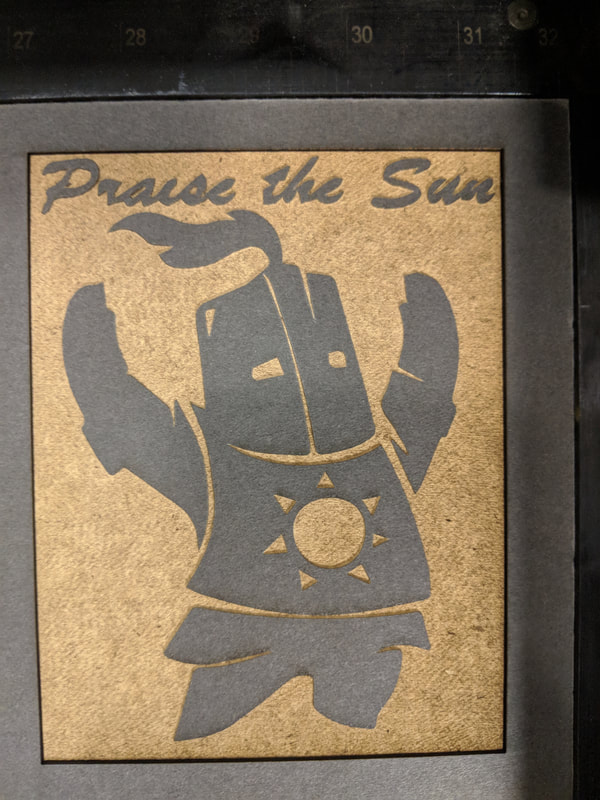
|
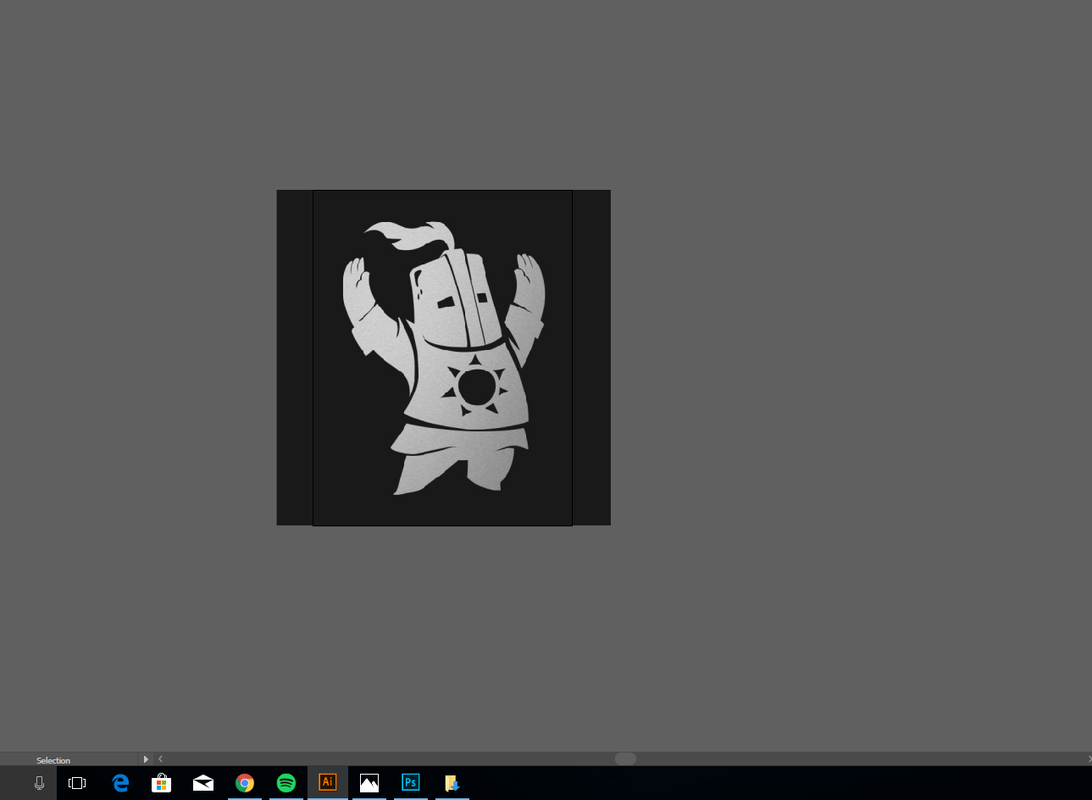
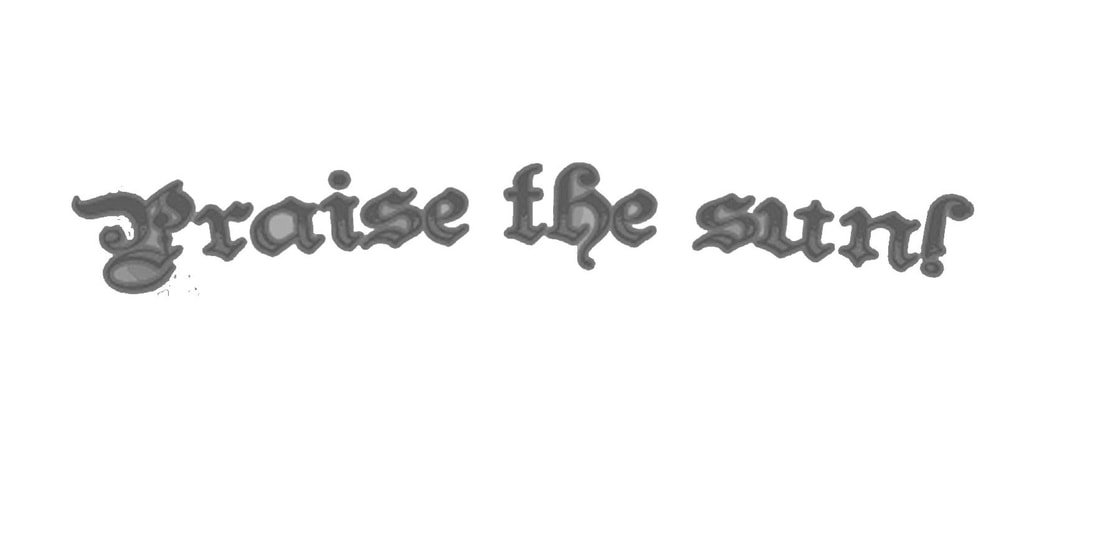
To the left was my original font idea, while I do like it a lot the small gaps in the letters might have printed poorly so I found a different one. The one I went with was a default one already in Illustrator.


|
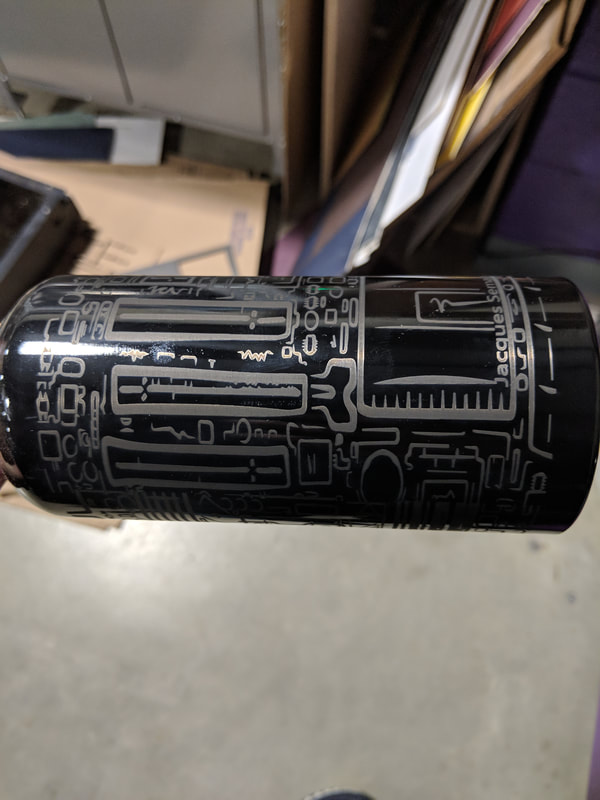
Water Bottle
Step 1
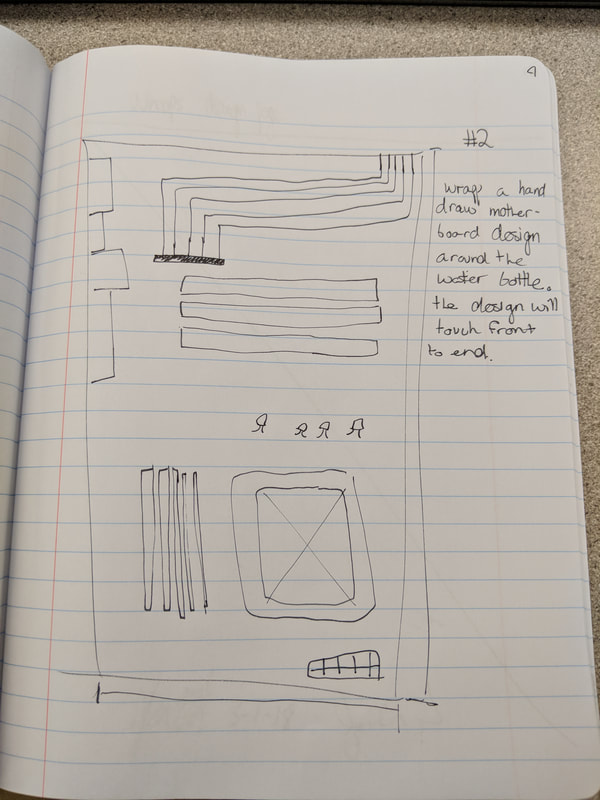
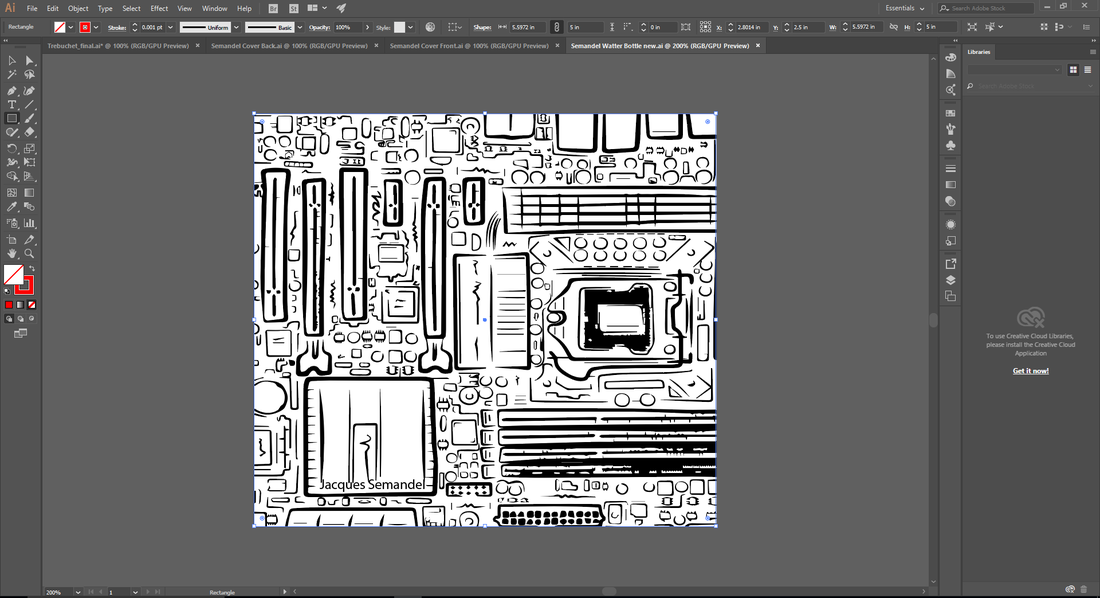
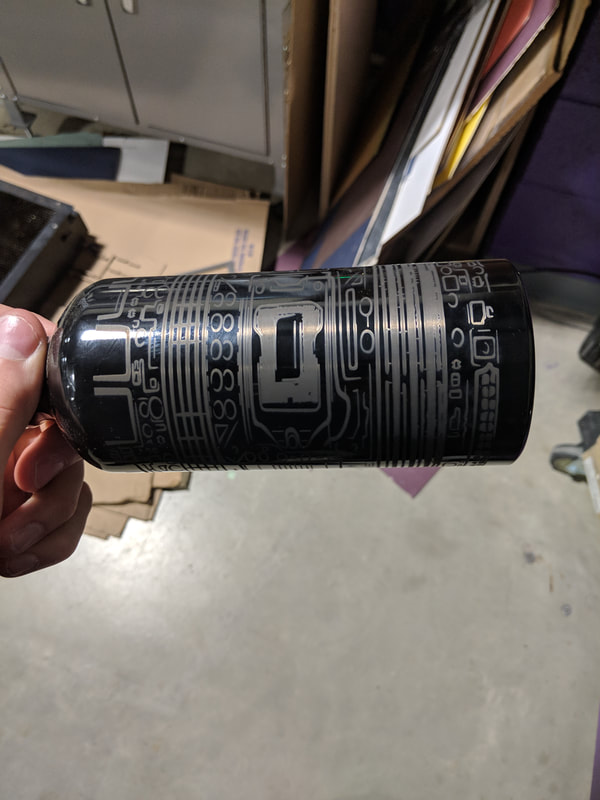
For this design we were engraving a metal water bottle using a rotational jig. Before I started I knew I wanted a design that didn't need to be view from a certain angle to make sense. I wanted something appealing at first glance. I decide to find a hand drawn motherboard design because they are very detailed, interesting, and don't have a "correct" orientation.
Step 2
While printing on a flat surface is very easy, printing on a water bottle proved to be a little more challenging. First I found the height of my bottle, 5 in, then I found the width of the printable surface by taking the diameter and multiply that by pie, then subtracting 0.5 to be safe. 2.875*π=6.1525-0.5=5.6525, I round this value to 5.6 in Illustrator just to be extra safe. With the edges established I pulled in the image I found, I then used image trace to clean up the edges and added my name in a blank area.
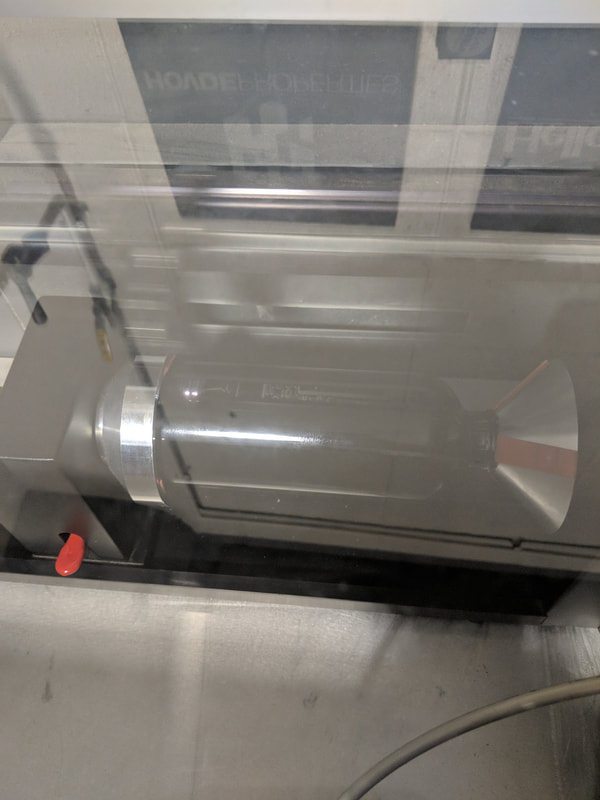
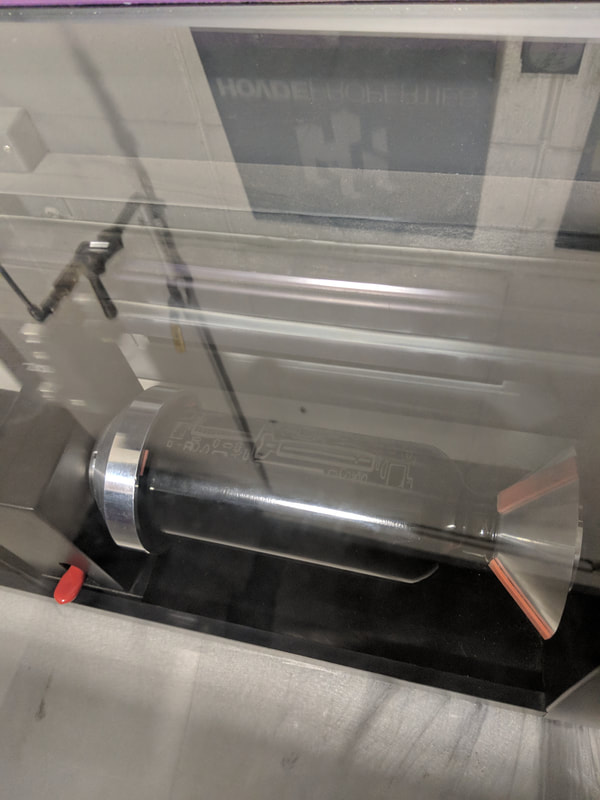
Step 3
Next I put my image into UCP. Once again make sure to set the right material for the machine to know how to print.
Step 4
Printing
|
|
Finished Product
|
|
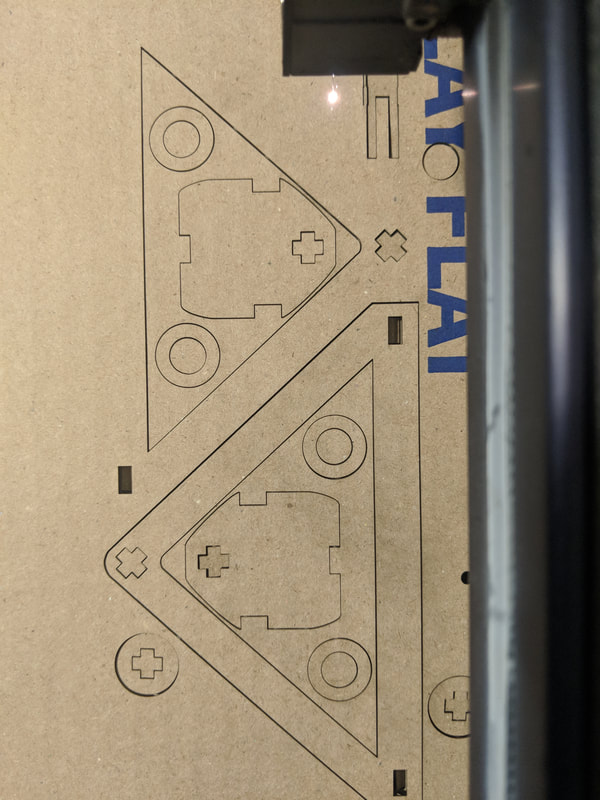
The Superior Siege Engine
Step 1
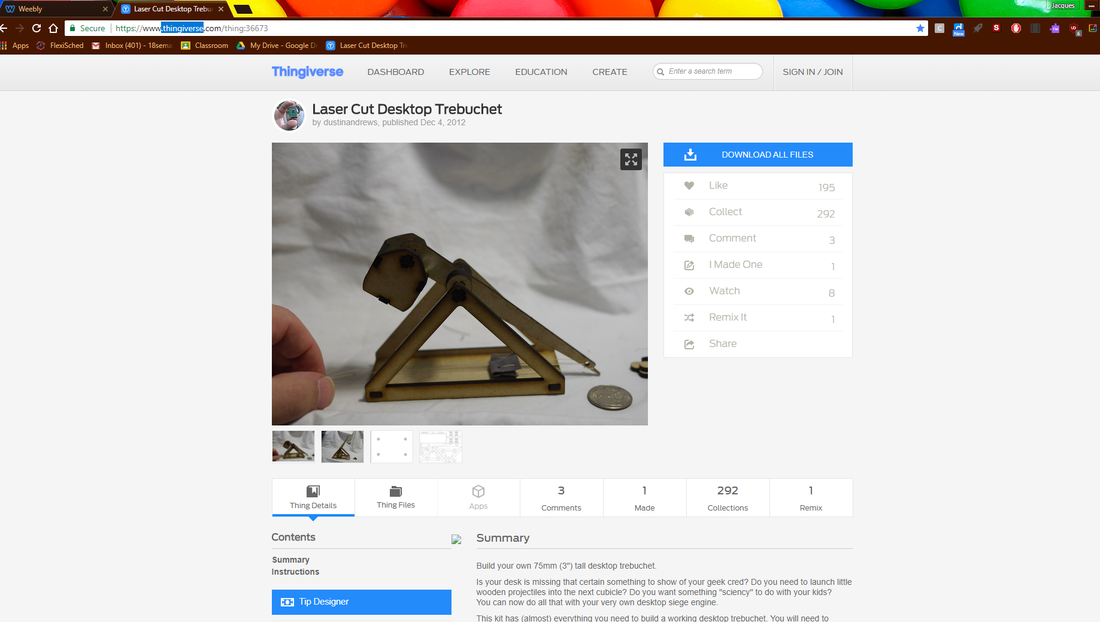
For this project we used a 3rd party website called "thingiverse" I found a design more a mini trebuchet.
Step 2
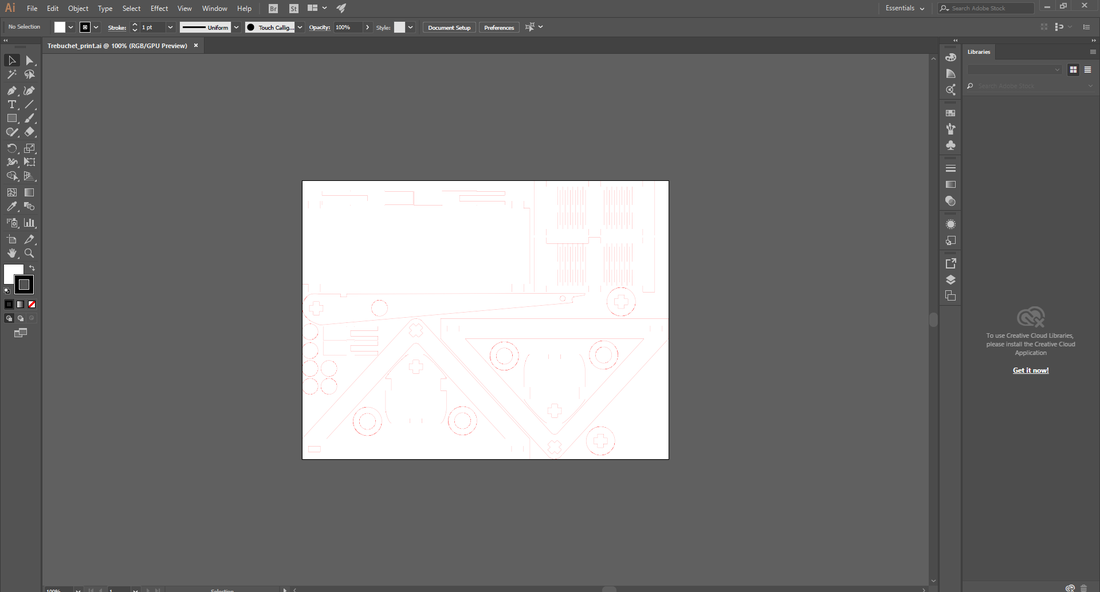
I then opened the file in Illustrator and outlined the cut lines with a 0.0001 stroke line in red
Step 3
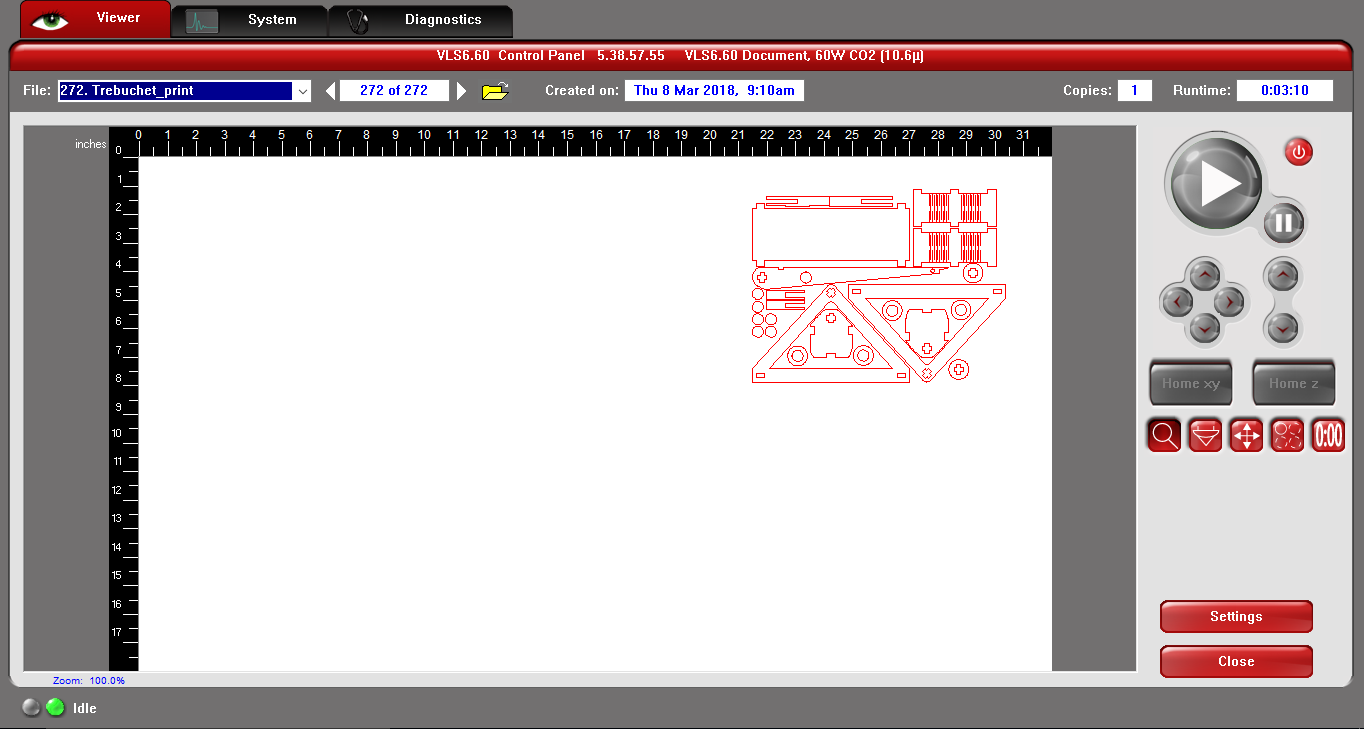
I then saved the file and opened it on the computer down in the lab, I opened with UCP and set the proper cut settings (see rubric for specifics on materials)
Step 4
Printing!

|
|
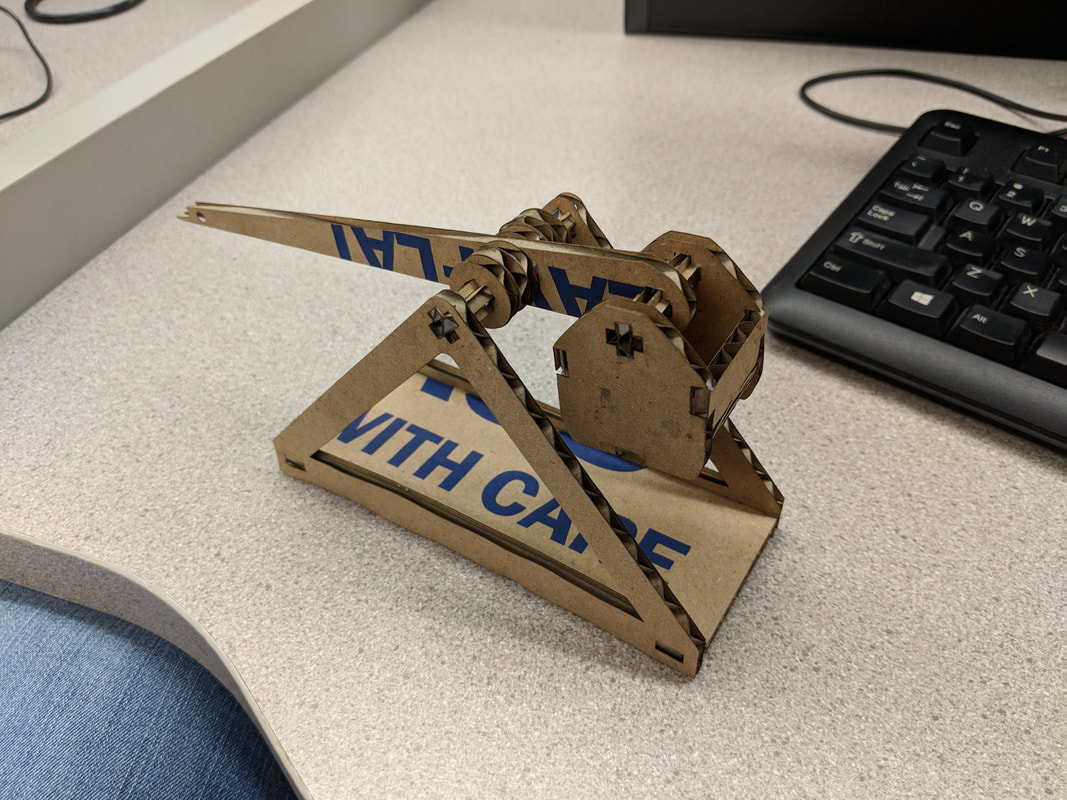
Step 5
After some assembly using the tutorial on the website I had the finished product. unfortunately due to the material we had available the trebuchet doesn't really work as intended, but it is very interesting to look at.
SummaryI learned a lot of things from the laser rotation, the biggest being the rotational jig and how it works. Specifically I learned how to design and make a object to be printed on a round surface, and the actual set up for this process. From the note pad project I learned how to think about how the laser will cut. I used this to flip the cutting so that instead of the object being cut away the dead space was cut away and the design was left in the nice looking mat black material. From my Trebuchet project I learned about the physical assembly of these projects and how frustrating it can be to work with small objects. Overall the laser rotation was a big success for me and I learned a lot about the laser machine.
|

|
